Lancia Integrale restoration
Posted: July 21st, 2010, 6:46 pm
Still not finished and jumping the gun a little but there are rather a lot of pictures. Some of the pics have been posted before on the internet so apologies to those that have seen them before. The hours involved are huge but I like it right and will always do my best. It'll make a nice car one day, better than Lancia made IMO. The basic idea is to provide a pretty standard car assembled as well as I can manage and keep the power target quite sensible when the time comes. I hope to build a much stiffer car without fitting a cage and do my best to make it last. Not just exactly as it should be done as the engine is still in the but it came into the workshop some years ago for a quick job which has just escalated and has been stuck where it sat without much access to the front so it's just up to the engine bay with the next stage being the front end. Great care was taken to support the car without twist whilst I hacked chunks out of it and as luck would have it all was well, it sits straight as I'd like.
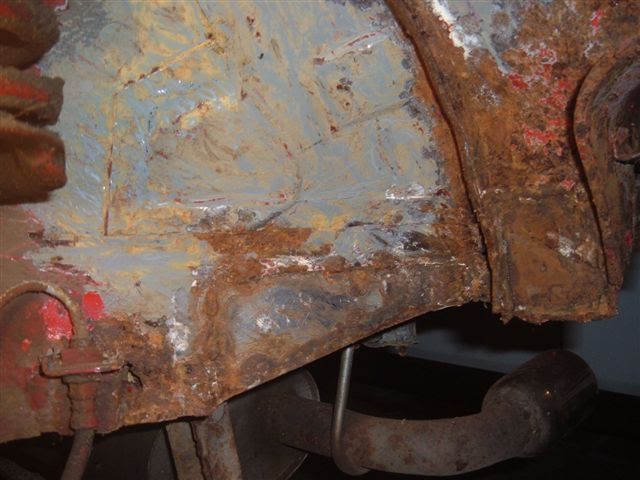
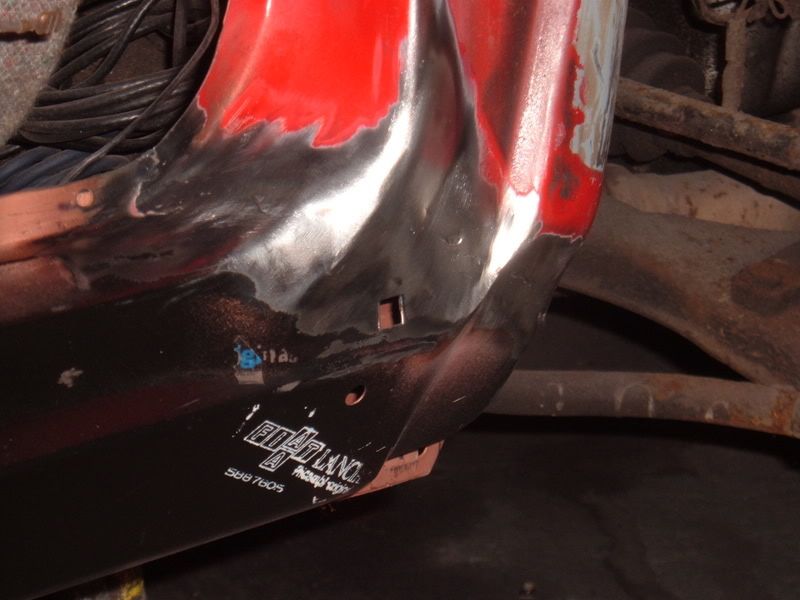
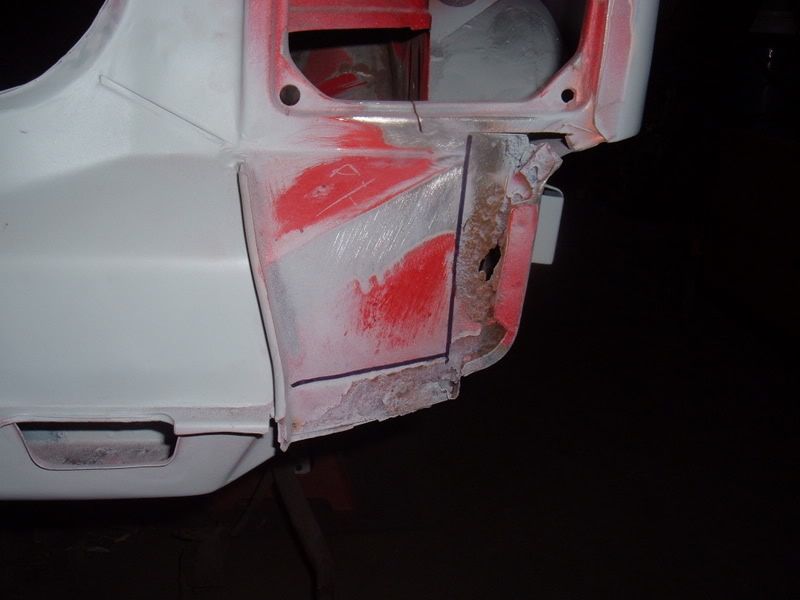
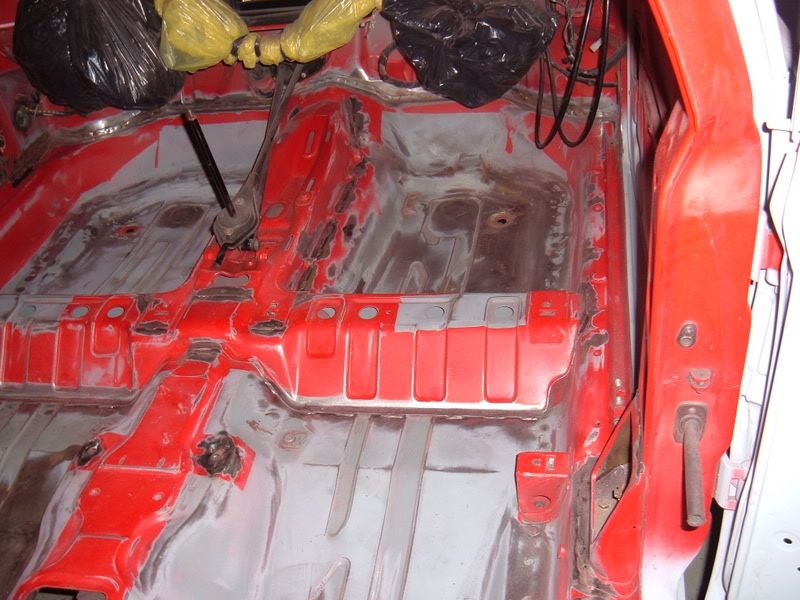
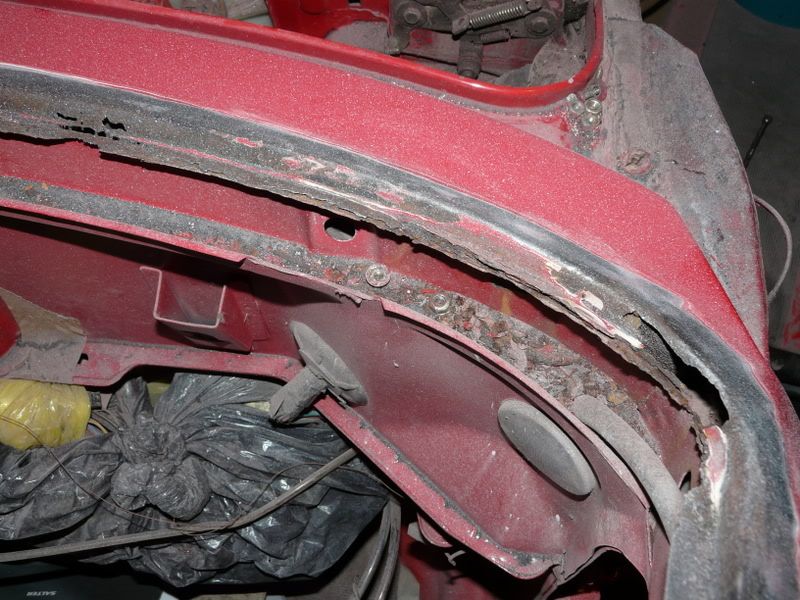
A couple of the nasties started with, pretty much the same throughout the shell, what was I thinking!
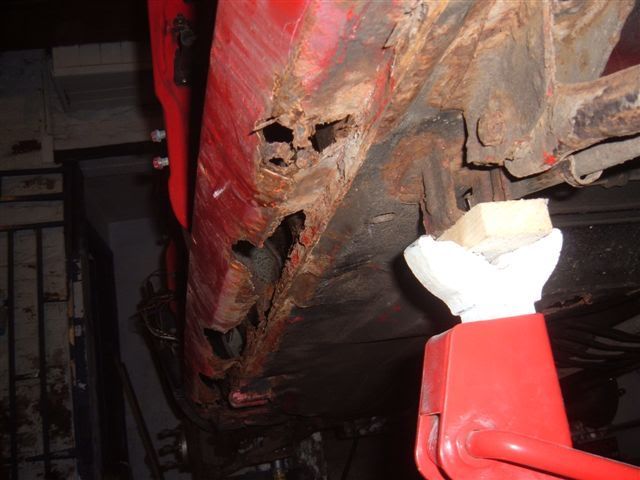
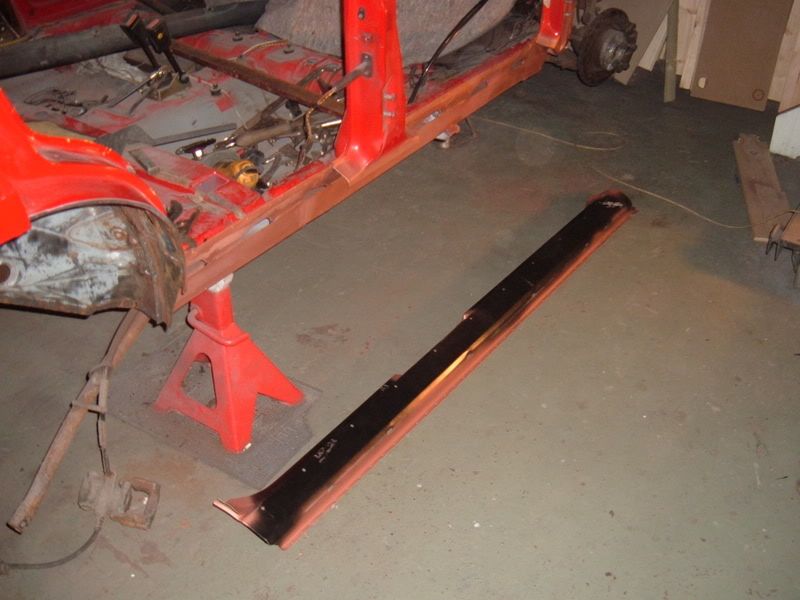
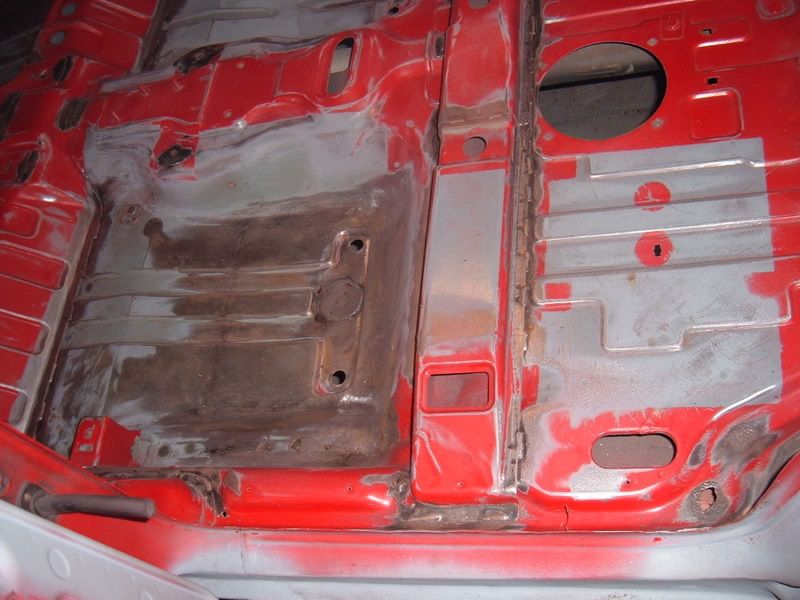
No mercy, it needs cut out. One sill, I didn't get a pic of the pile of scrap I cut off around the car but it was quite a sight.
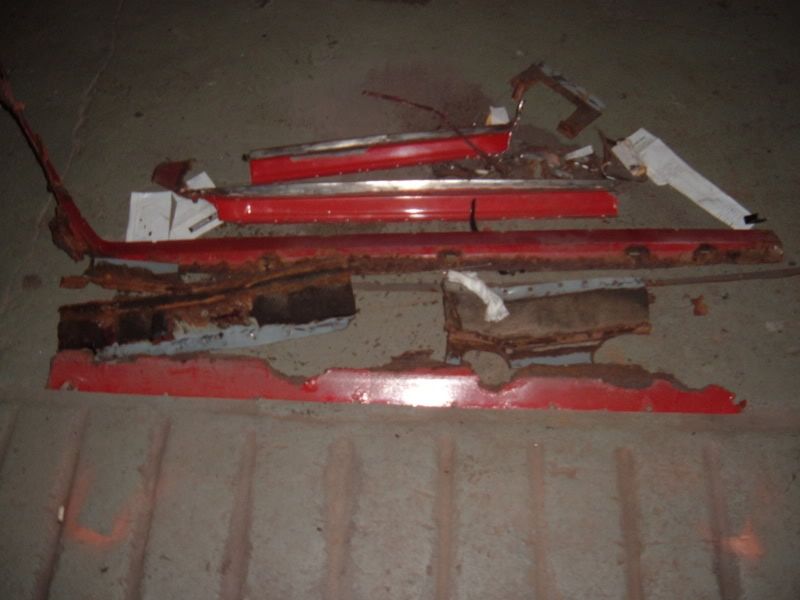
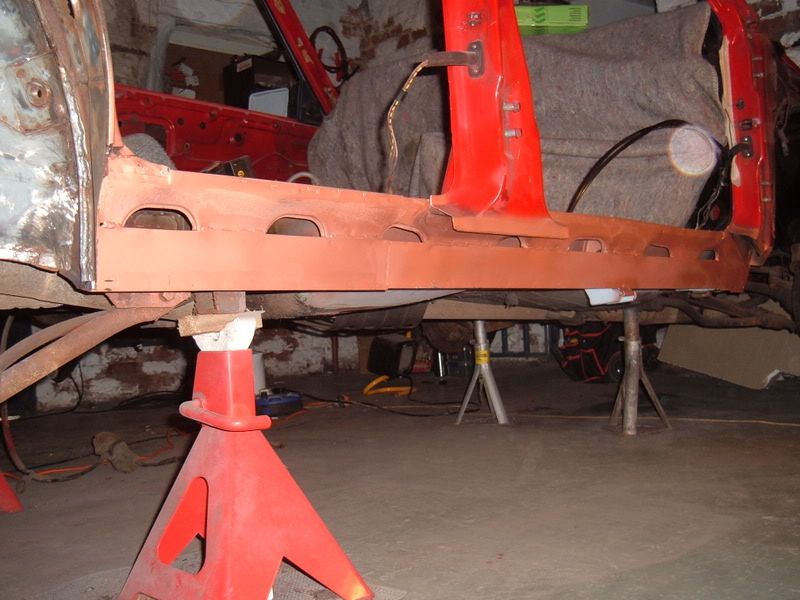
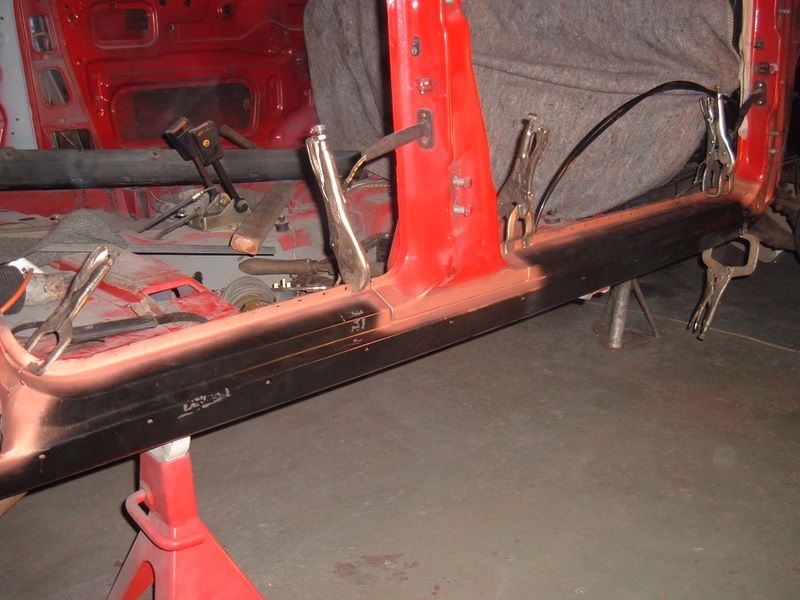
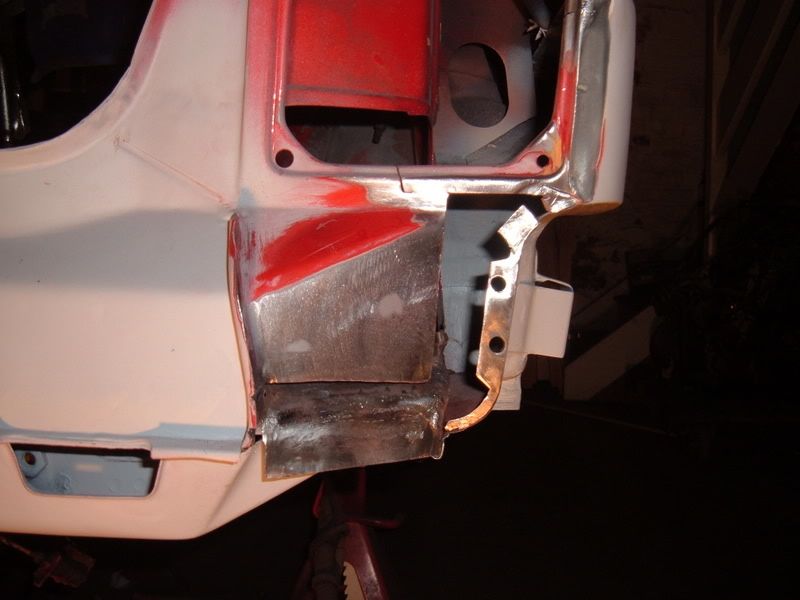
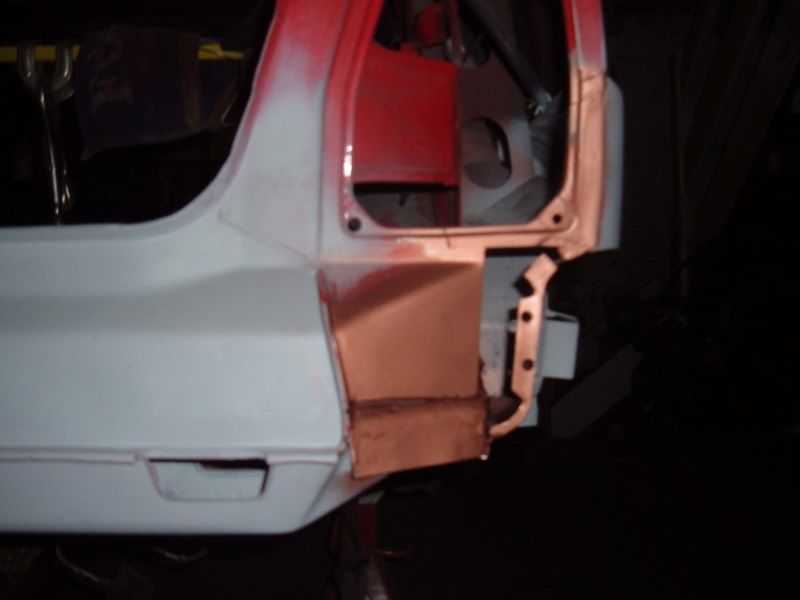
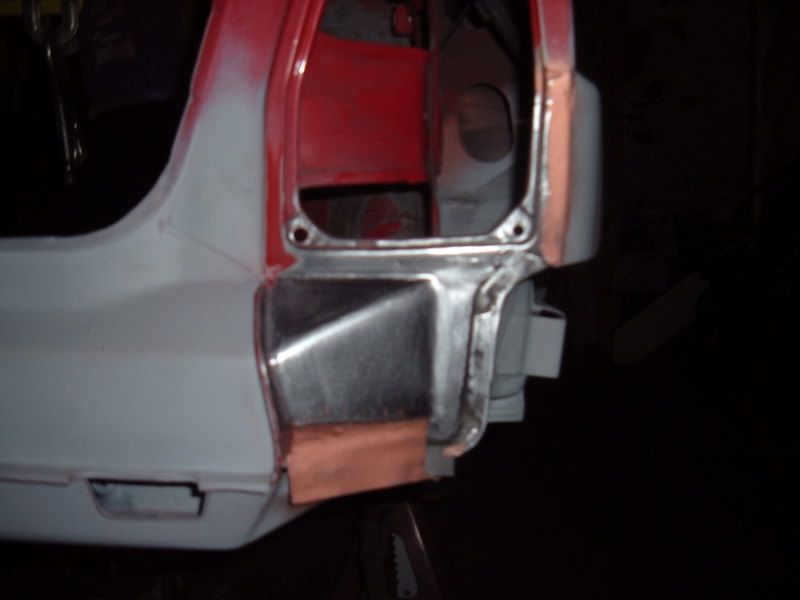
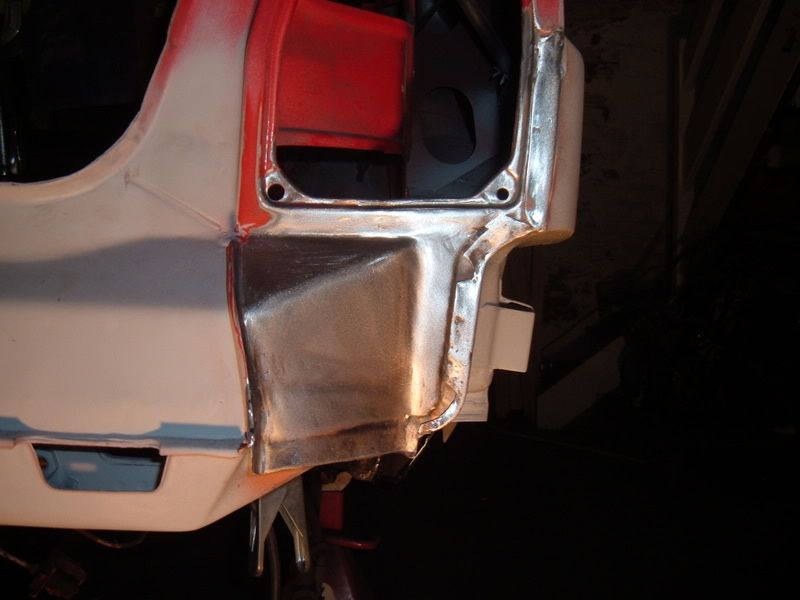
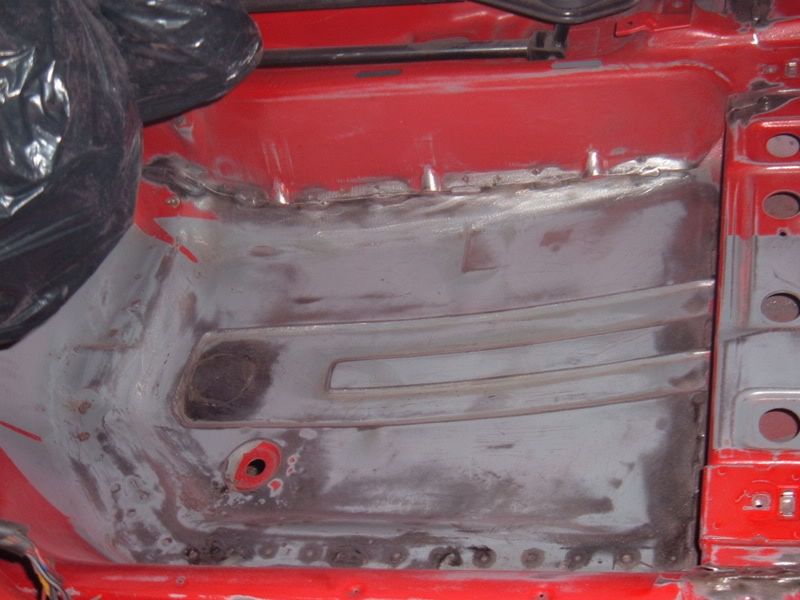
A run down of the sill repairs, made the inner, bodged a middle and lavished an original sill on the outer.
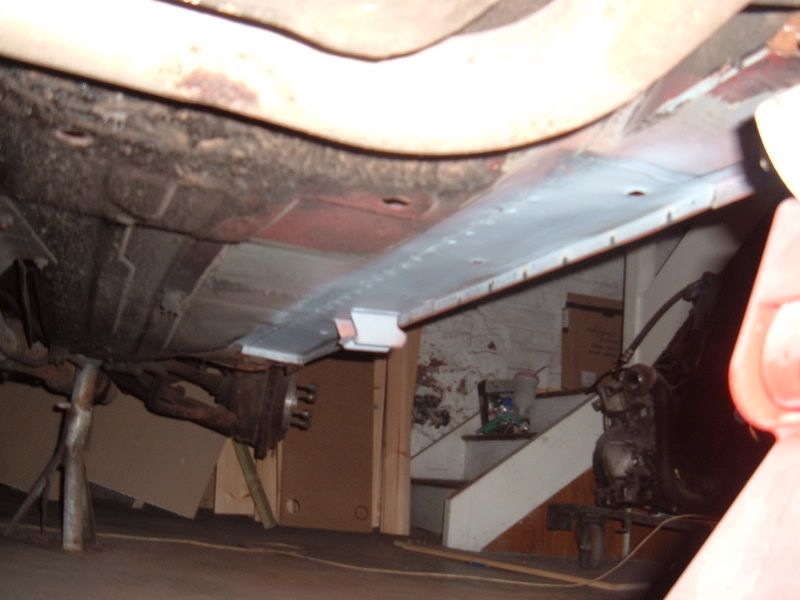
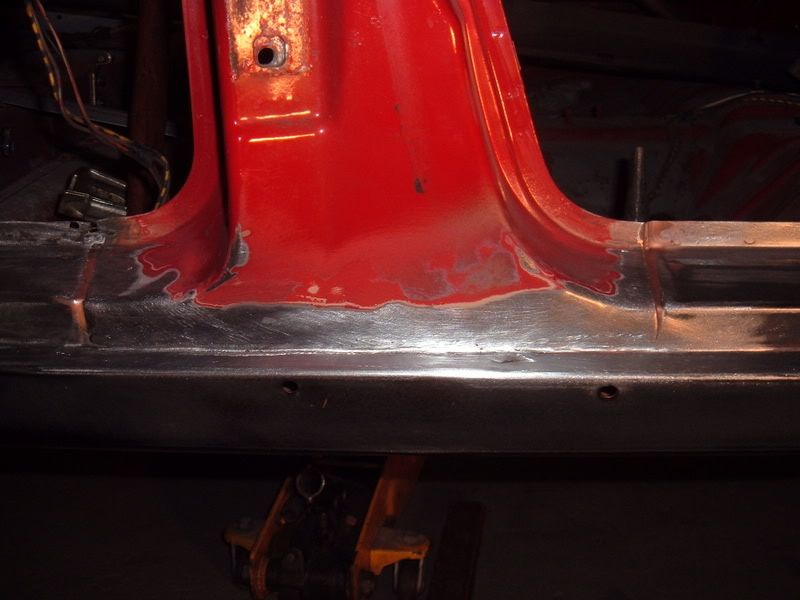
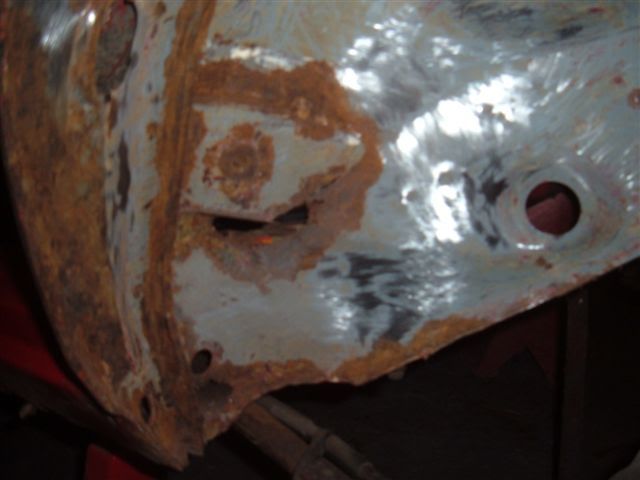
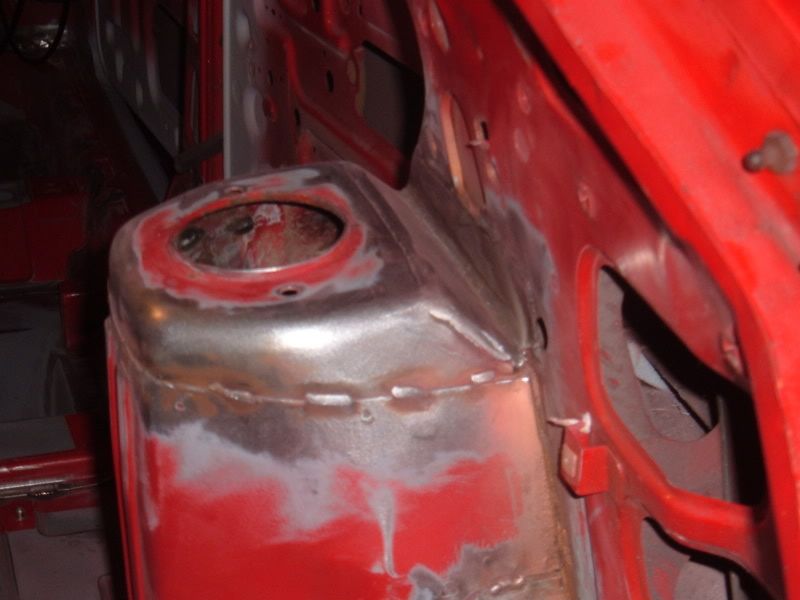
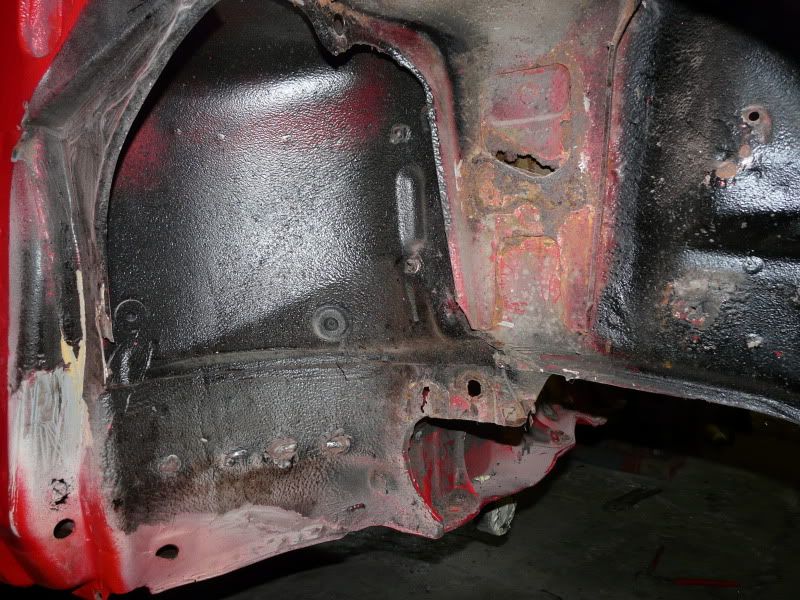
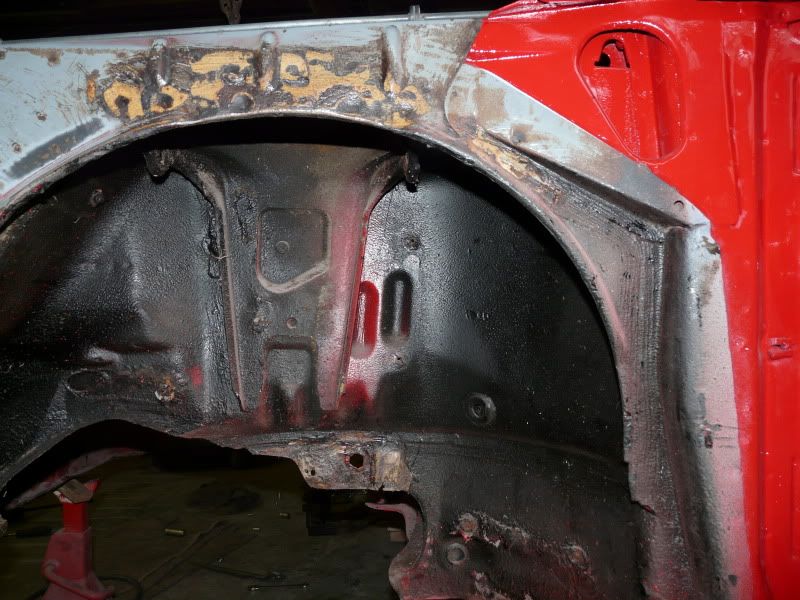
A pic of the repaired inner wing show above, many patchs and mucho grinding. No process pics due to being focused on getting it done rather than photography. There are a couple of hard to do areas in here.
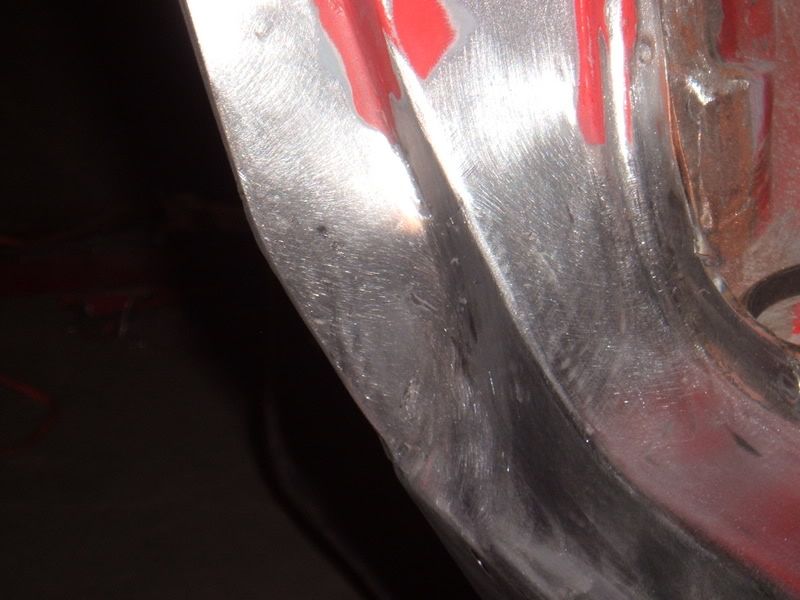
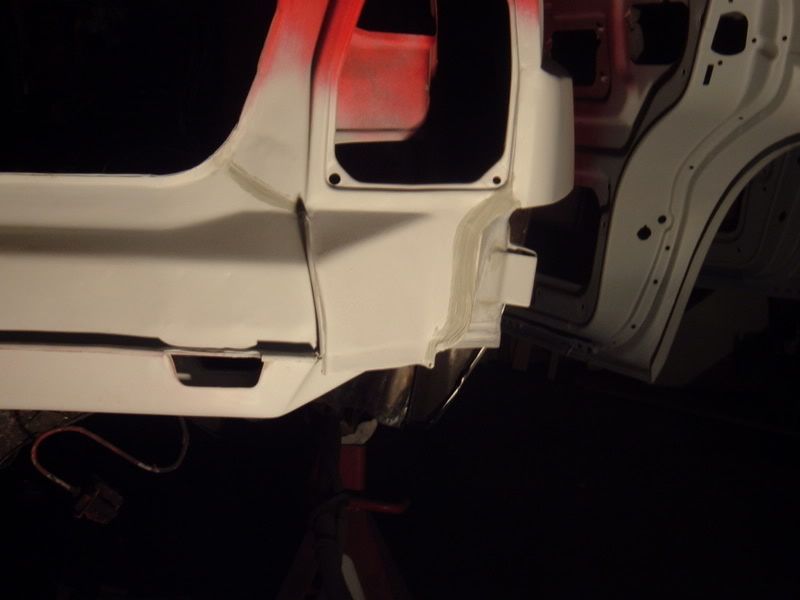
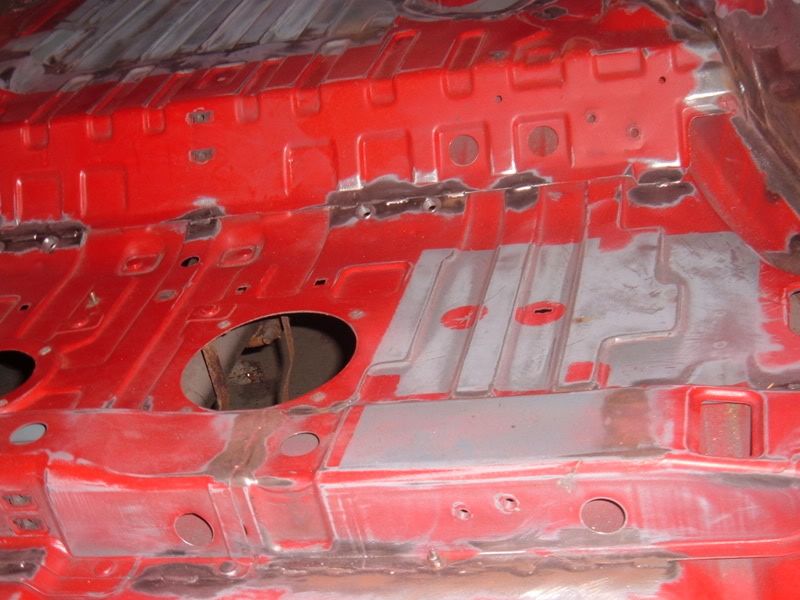
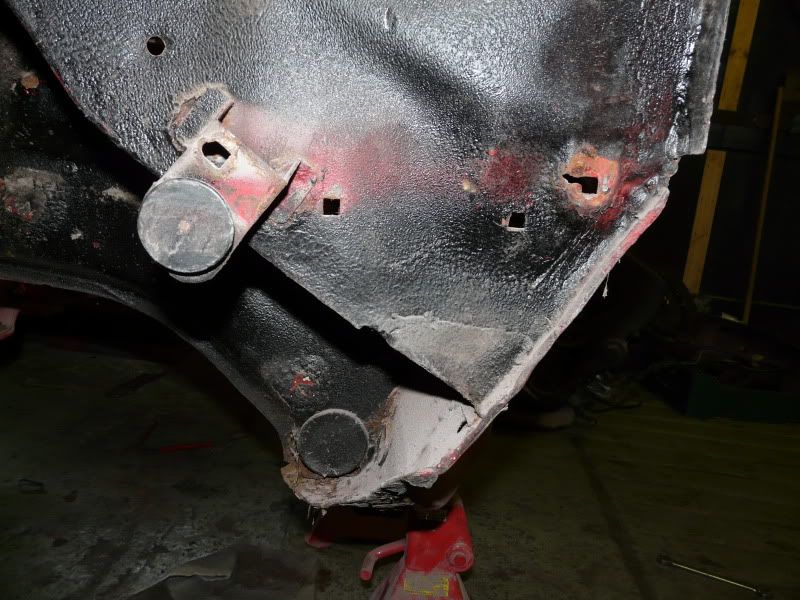
The nature of a patch repair of which there are many in this project.
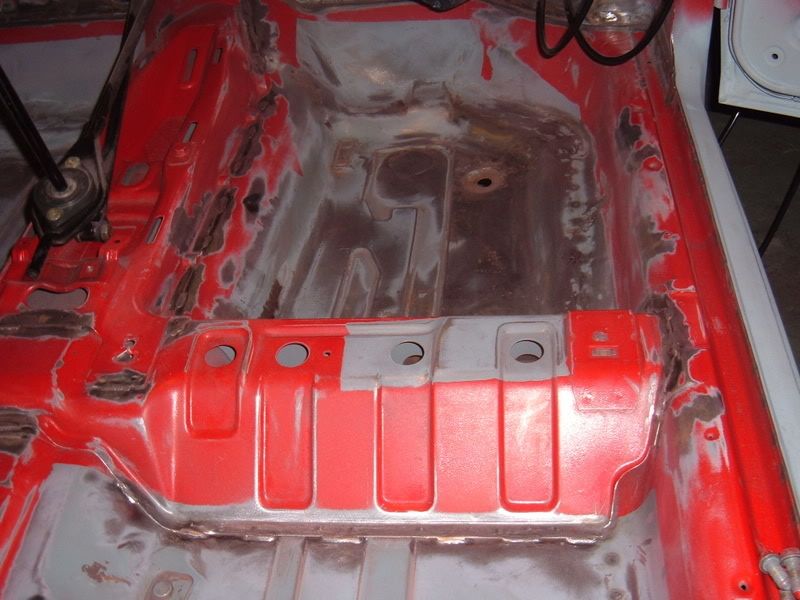
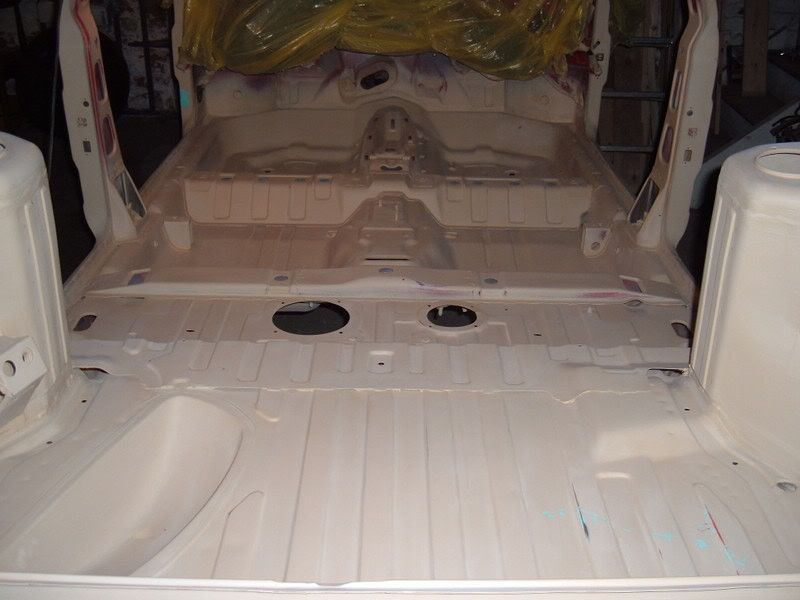
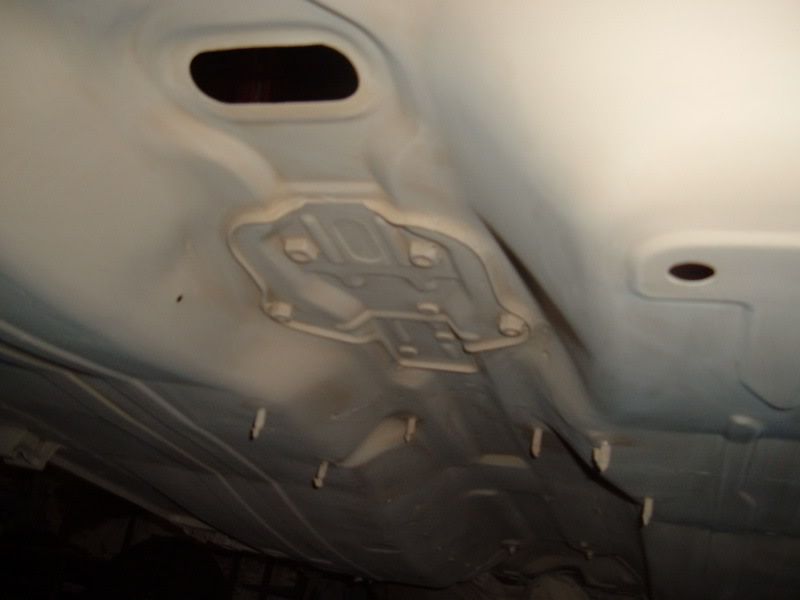
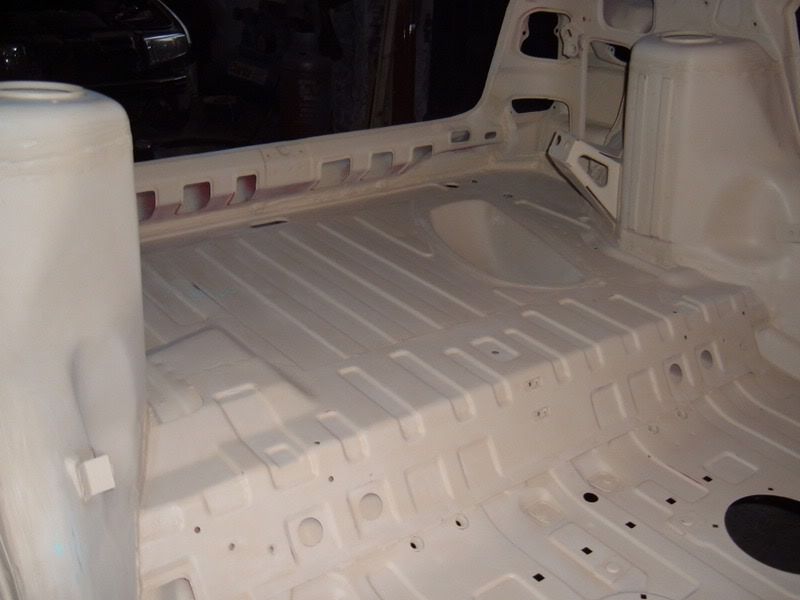
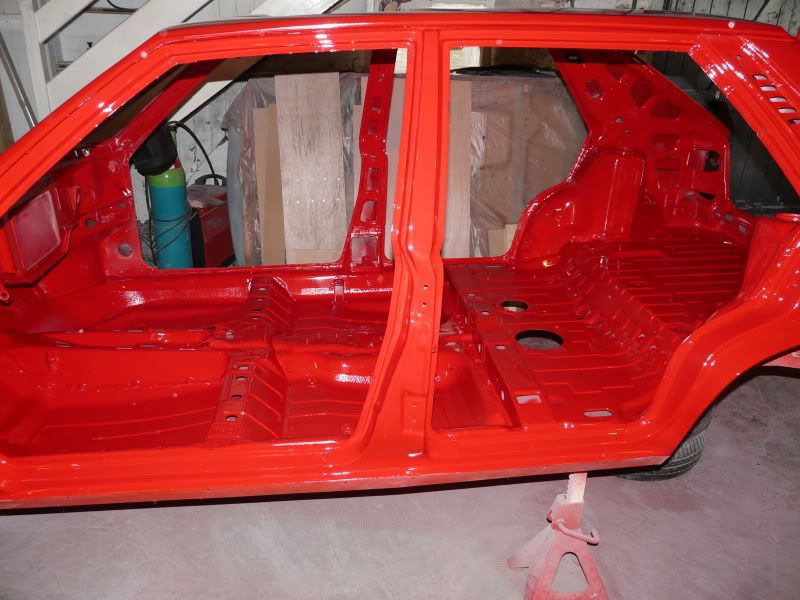
Once I'd been right round the outer lower edge (including cutting off and repairing before reattatching rear cross member and rear quarter lower repairs, boot shut areas, rear floors etc etc.) the floor pan took a dose of blood sweat and tears. A few repairs but generally not bad, stitch welded all over which made an excellent difference in ridgidity to the shell. This won't have a cage fitted but the amount of plates that have been welded in and the stitch welding have stiffened it up to the point when it's jacked on one corner the whole end lifts together. They don't usually do that!
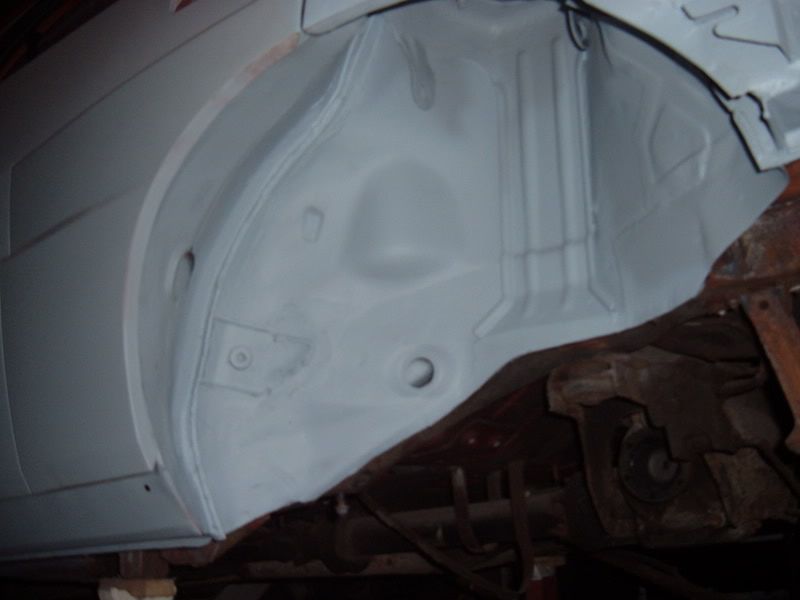
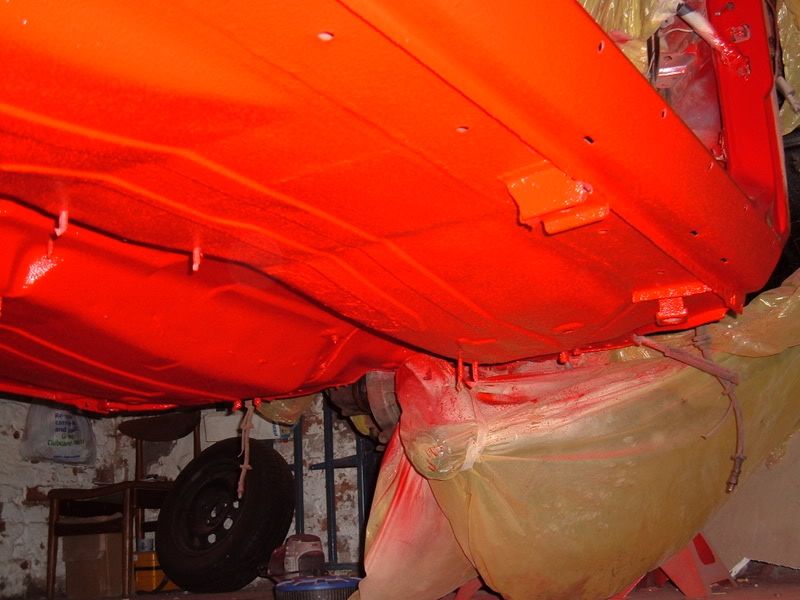
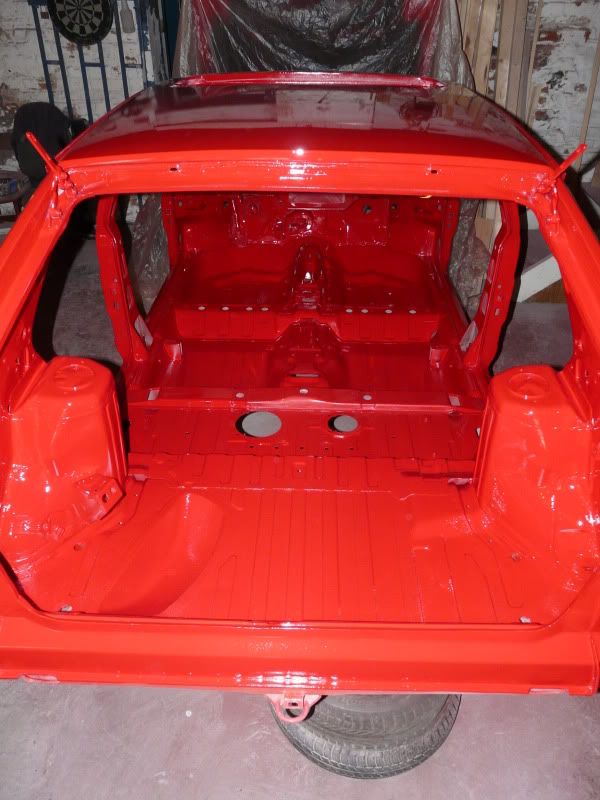
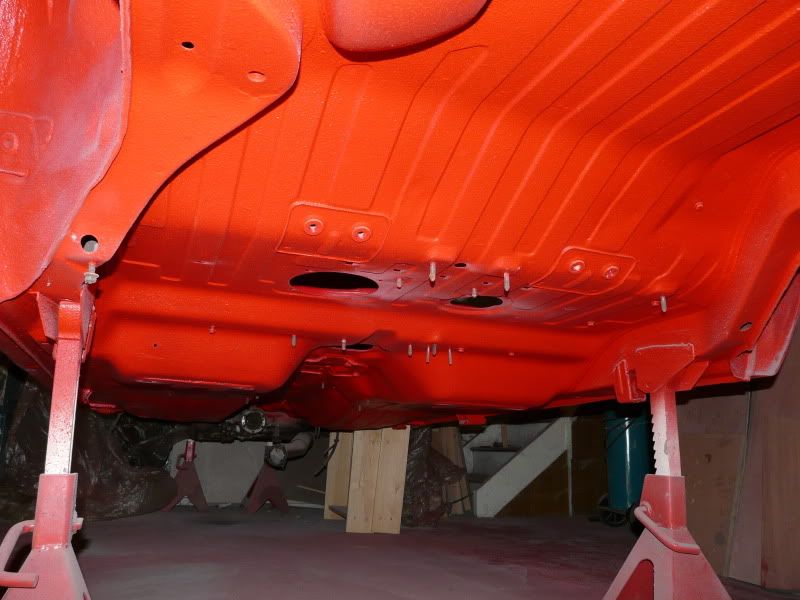
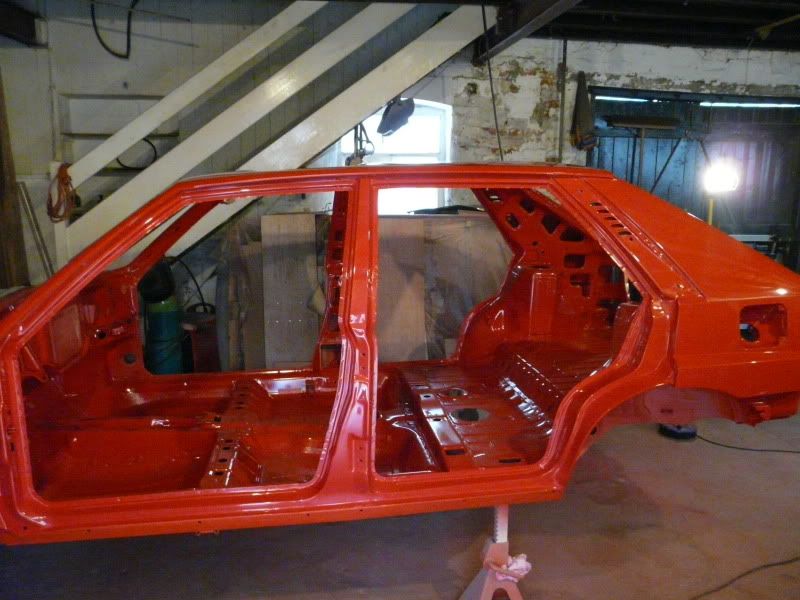
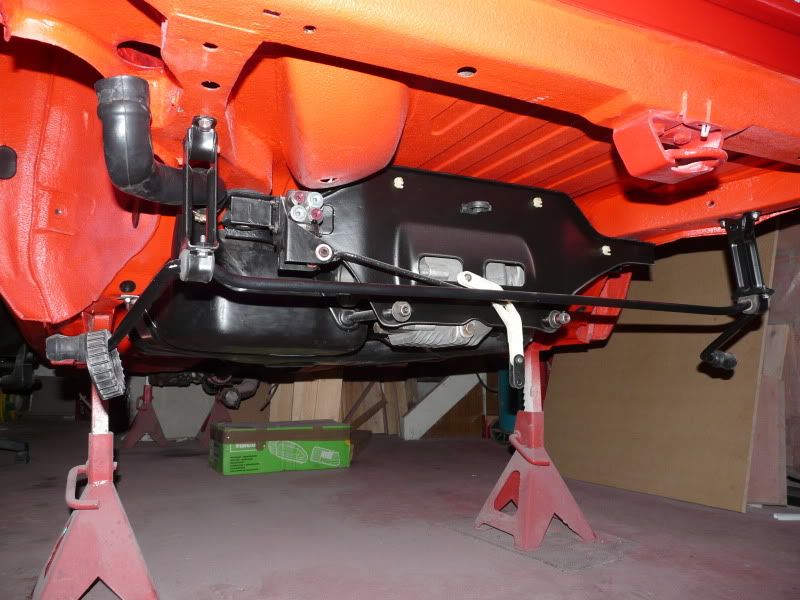
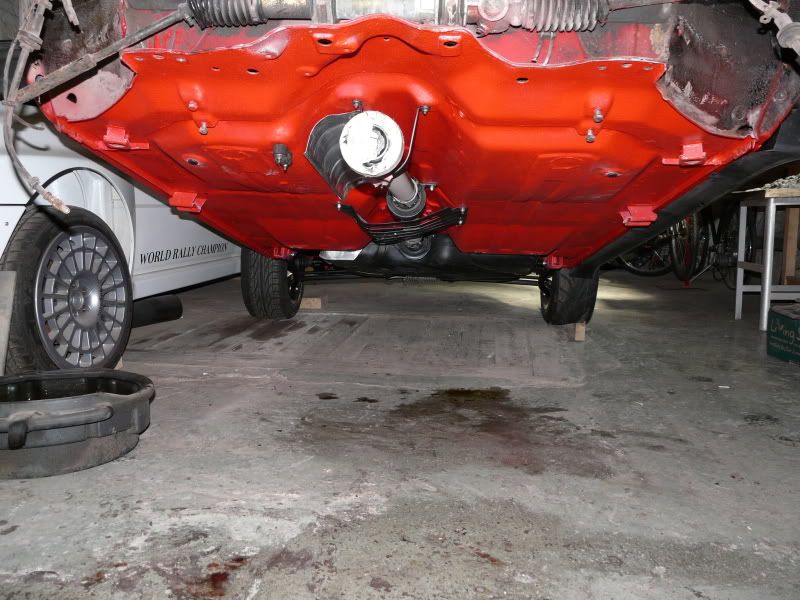
By this stage a motivational primer session was called for, nothing better than getting it all one colour. The underneath too, stripped to bare metal and a coat of "Granville" rust restorer on all seams etc before a thick 2K. Actually did it twice, once before seam sealing and once after.
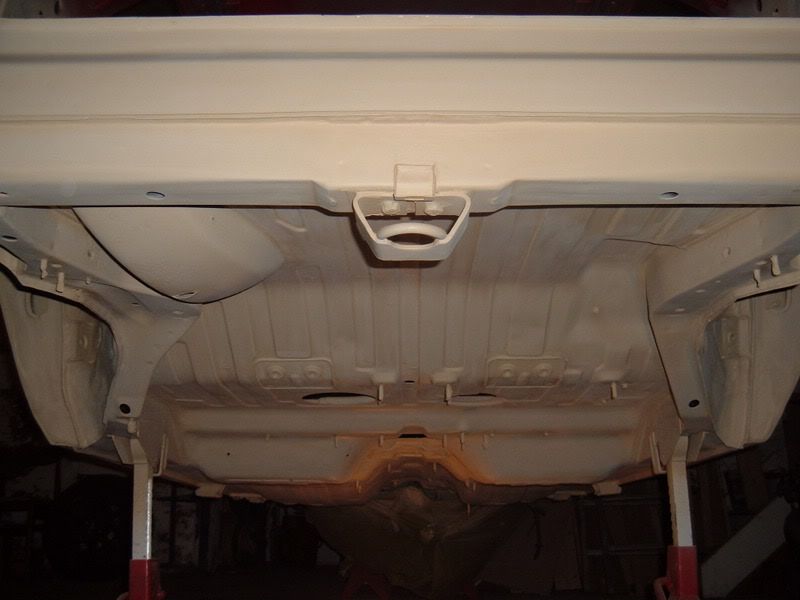
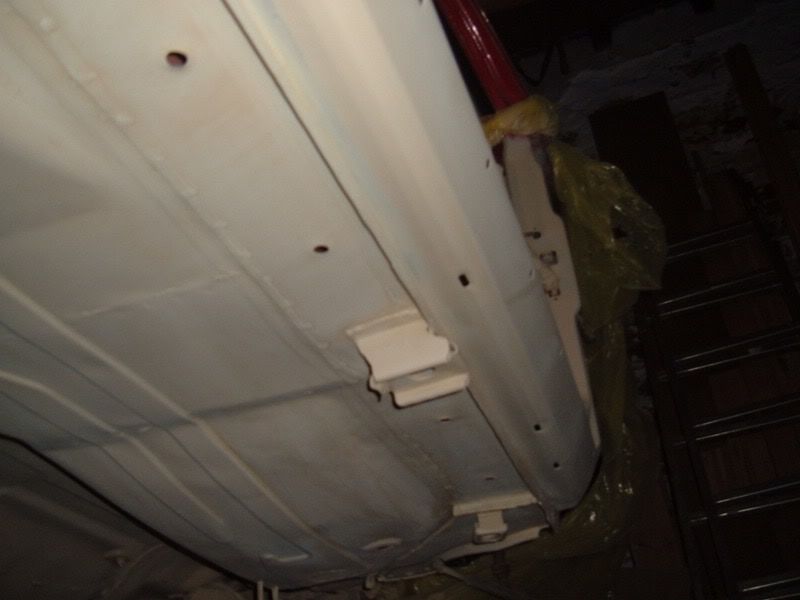


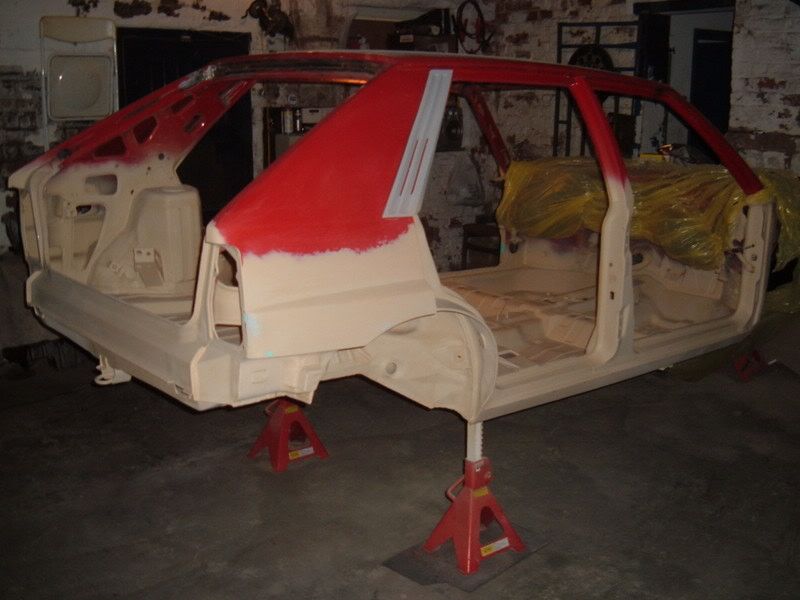
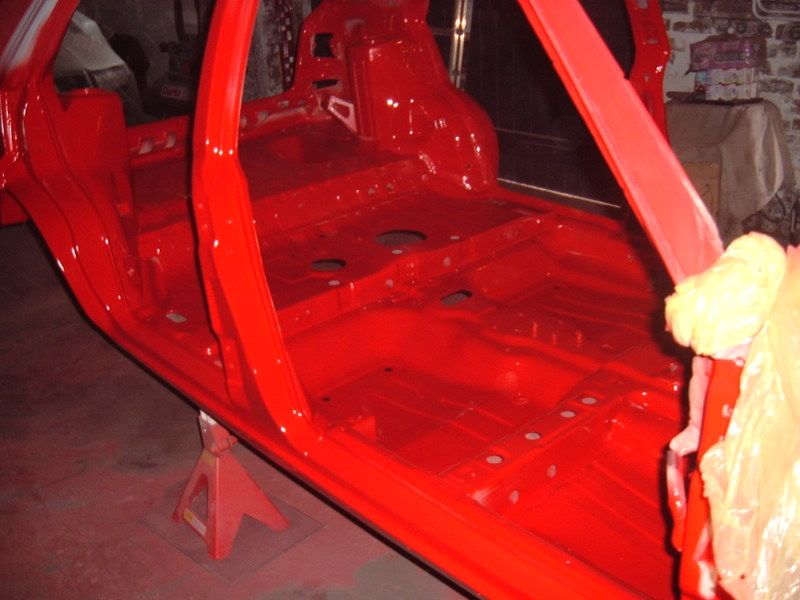
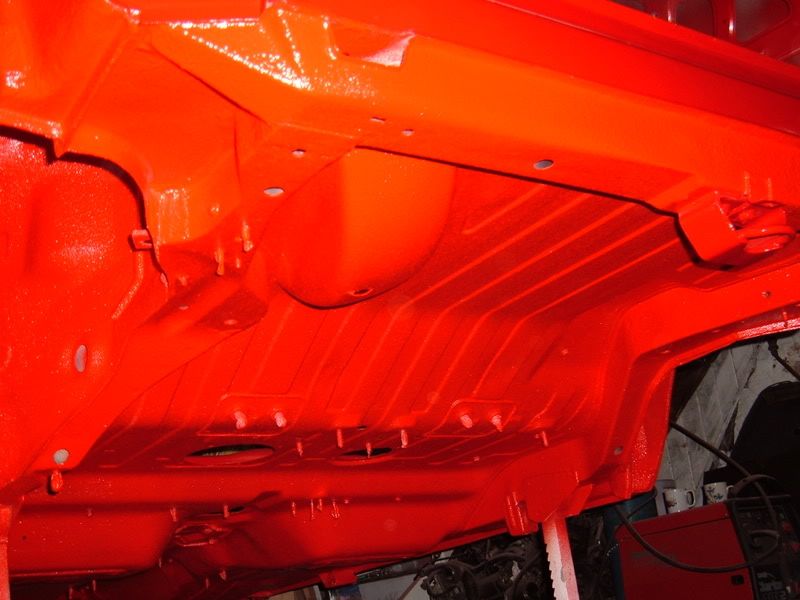
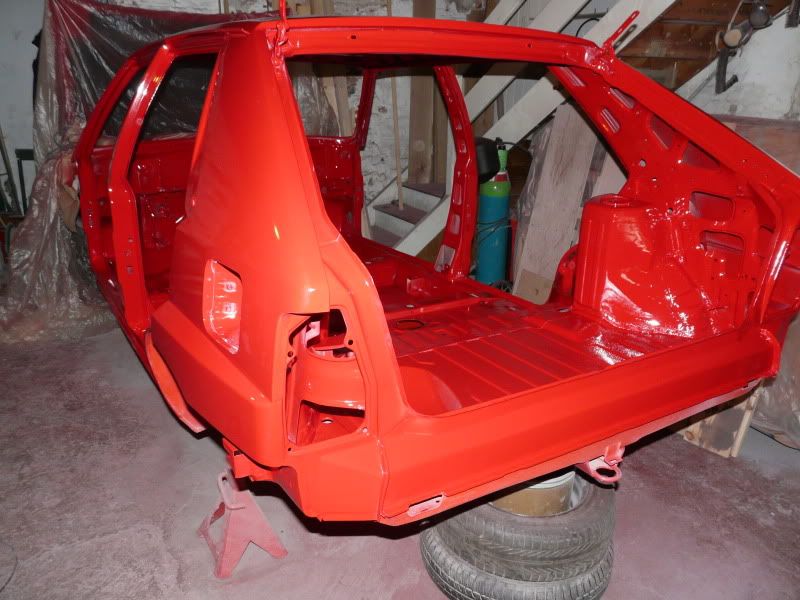
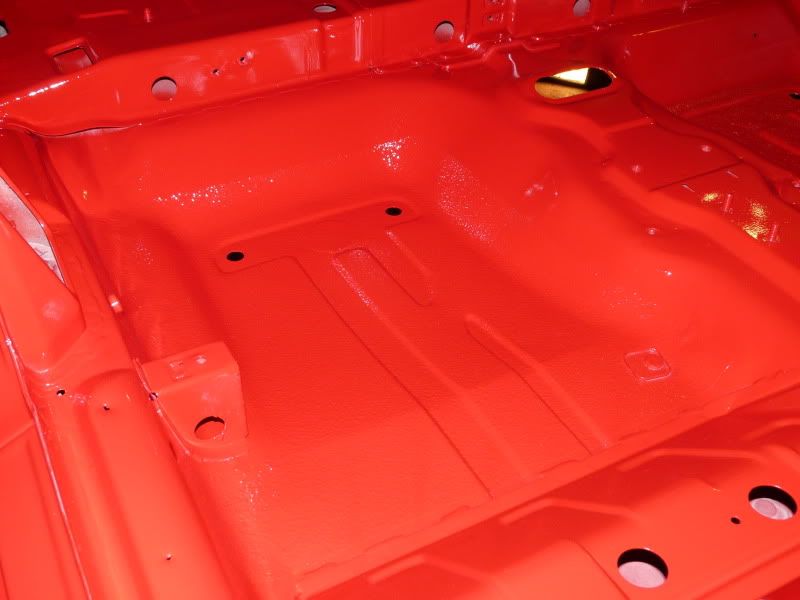
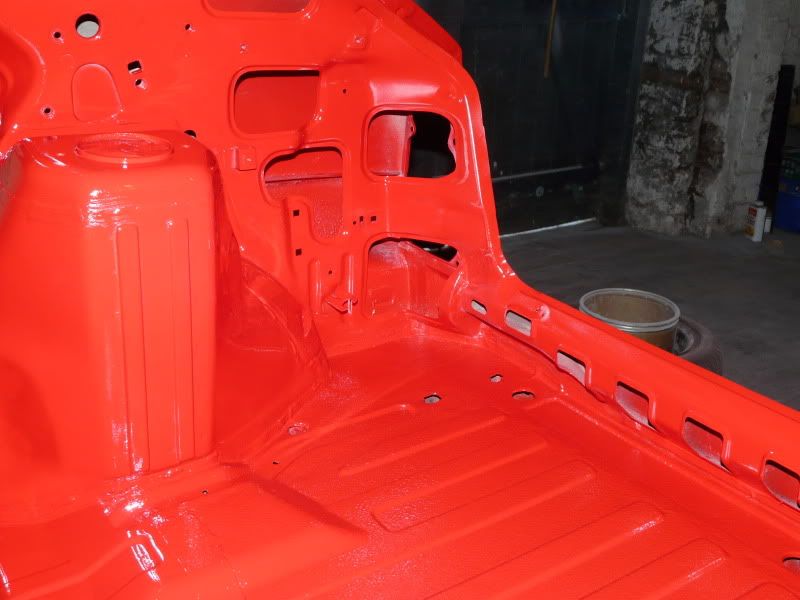
So then I painted the lower half of the car with 2k, nothing too fancy, just a good thick coat top and bottom.

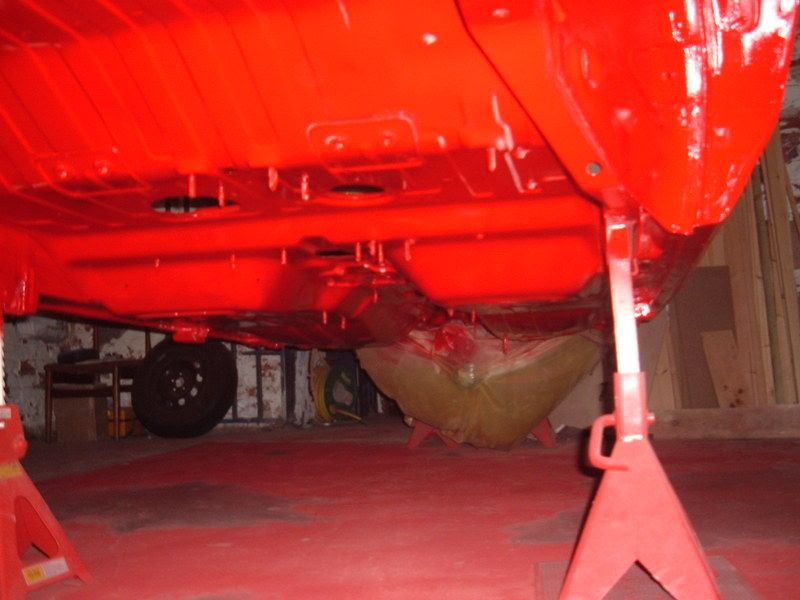
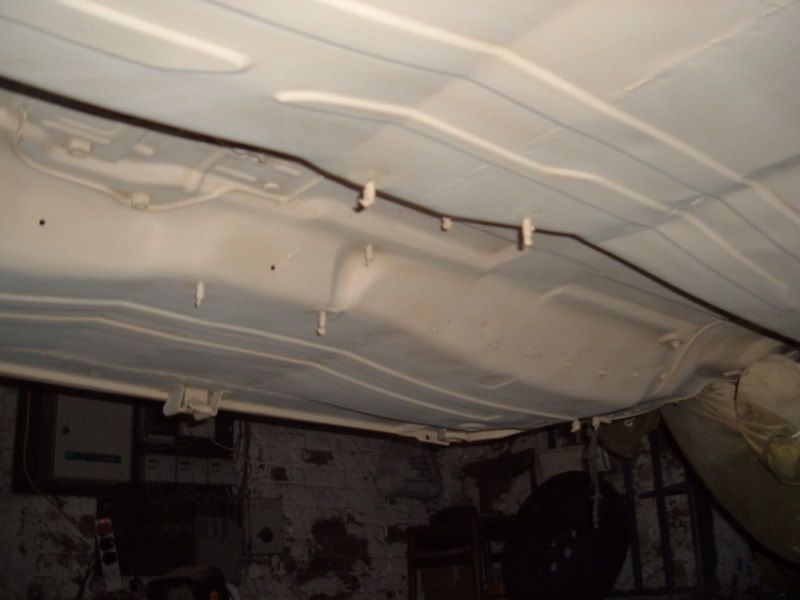
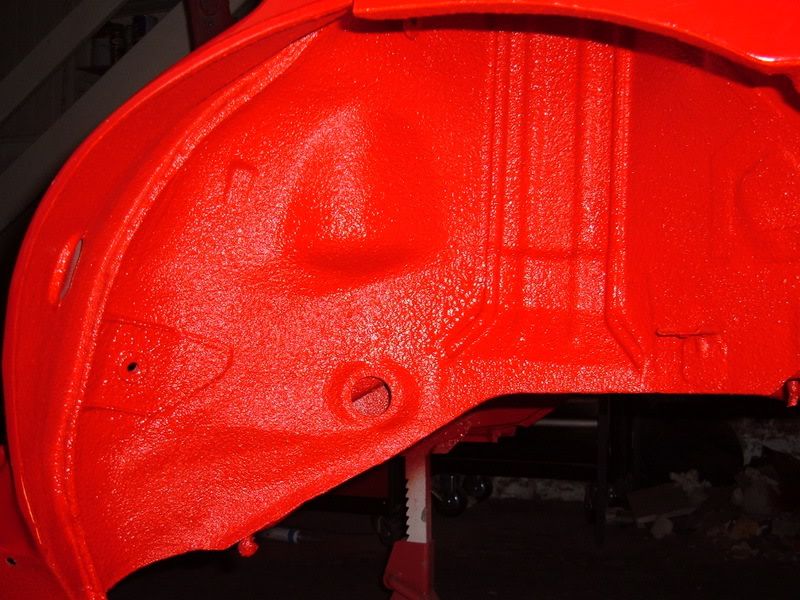
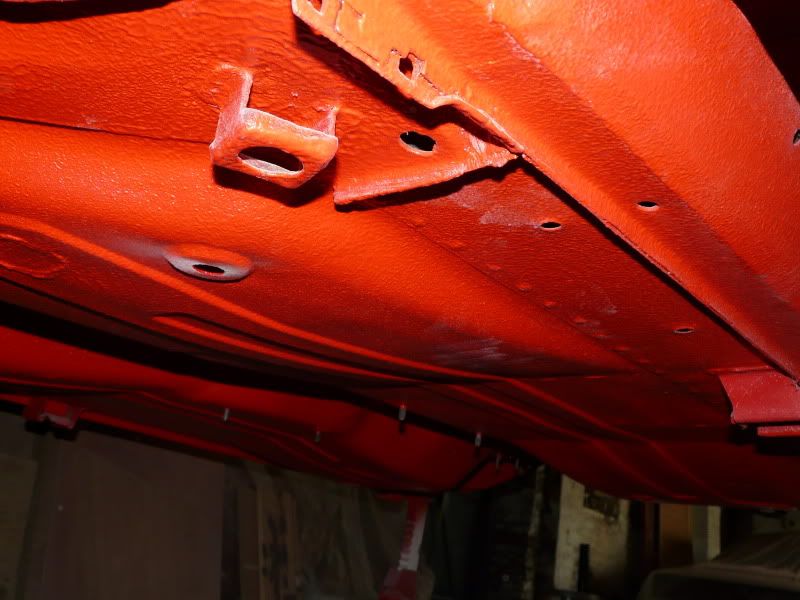
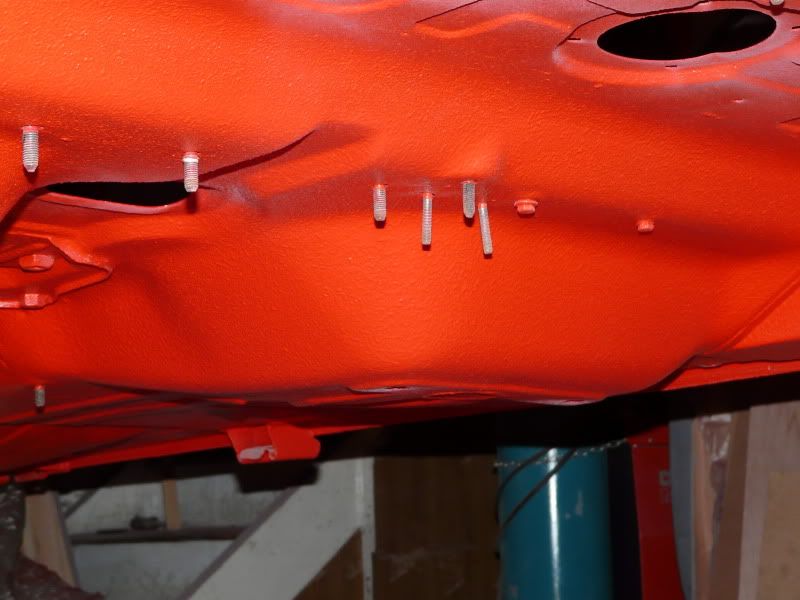
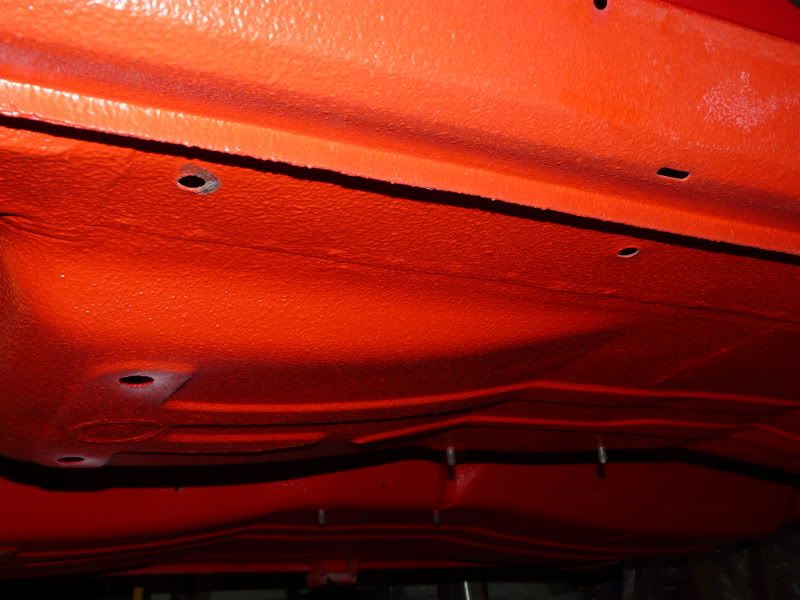
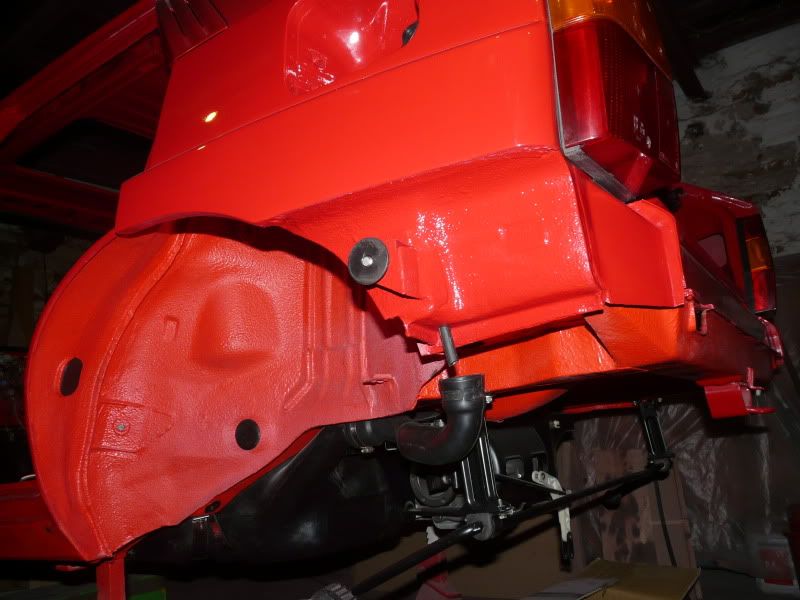
So, then I rubbed down the underneath to provide a key for the "Raptor Liner" which is bomb proof. I have no worries attacking it with a blunt screw driver and it actually abrades the plastic handle. Excellent stuff, just don't if you ever use it get it on your skin. I spent a week with a weird pinky red face and hands after trying to get it off with thinners only to smear it all over!
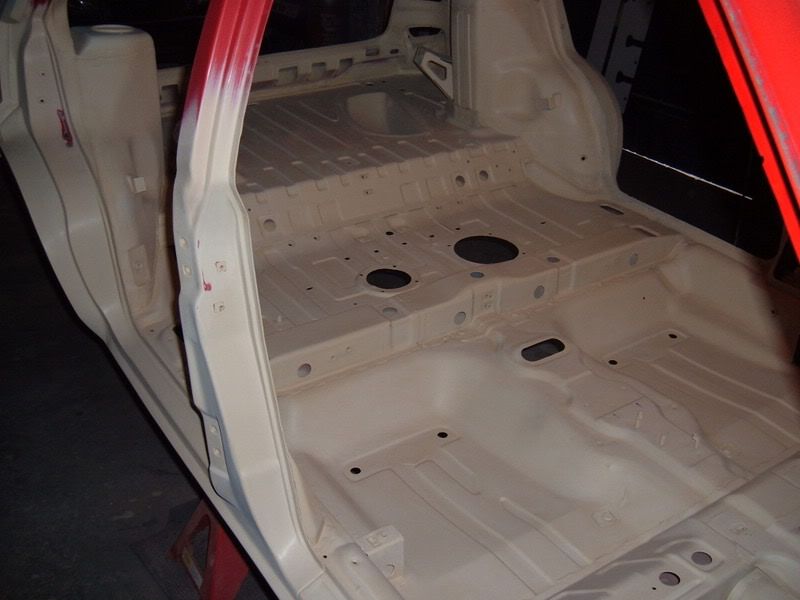
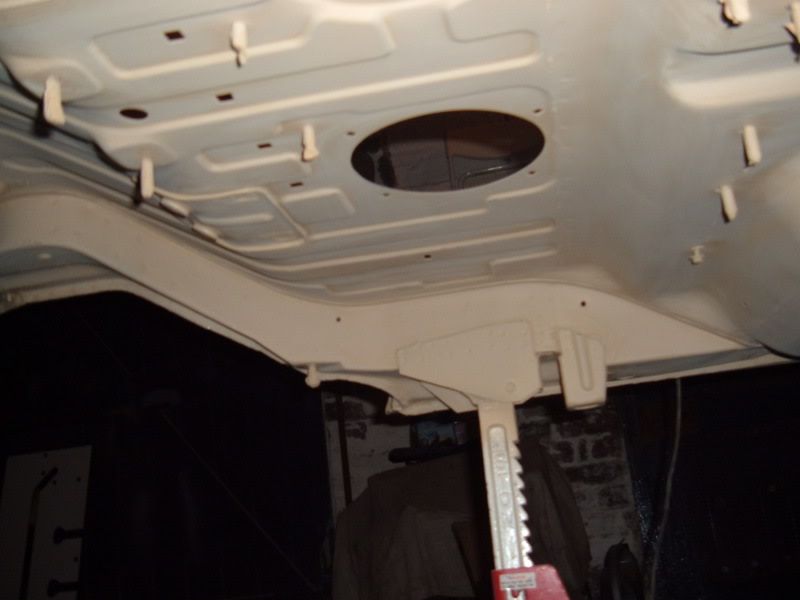
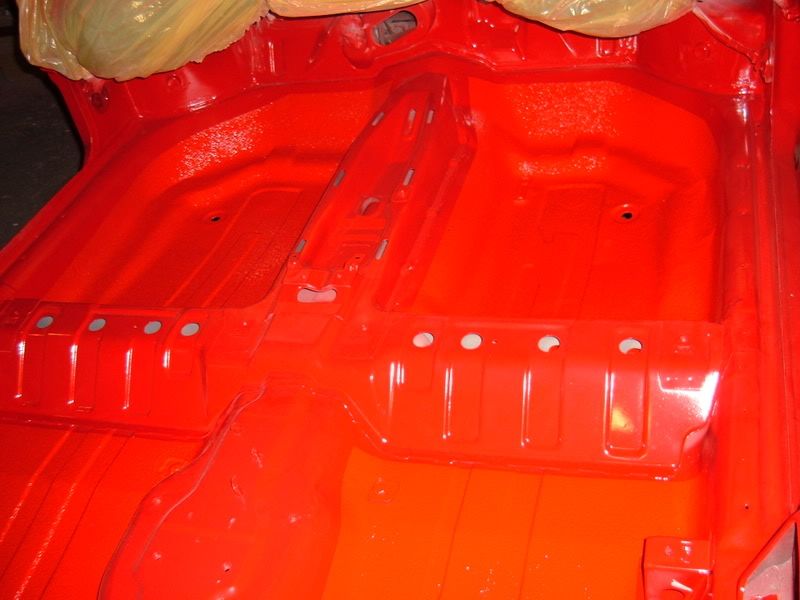
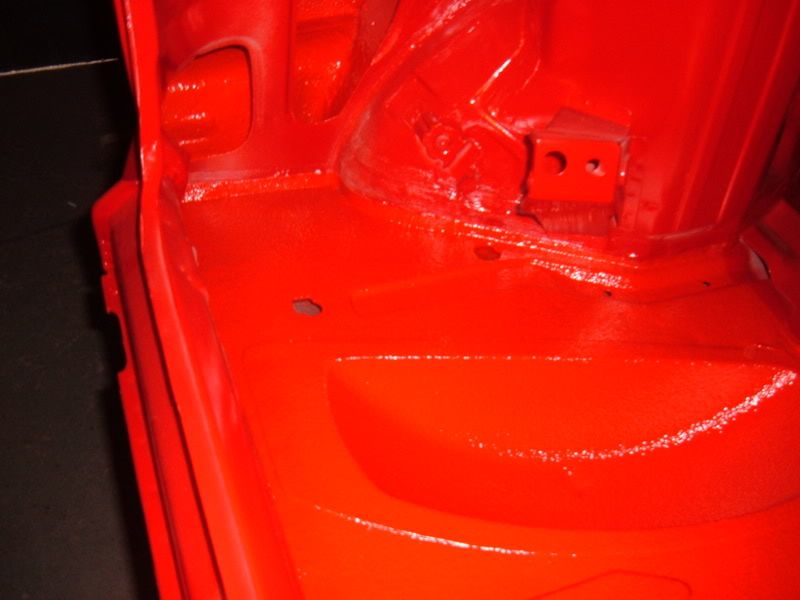
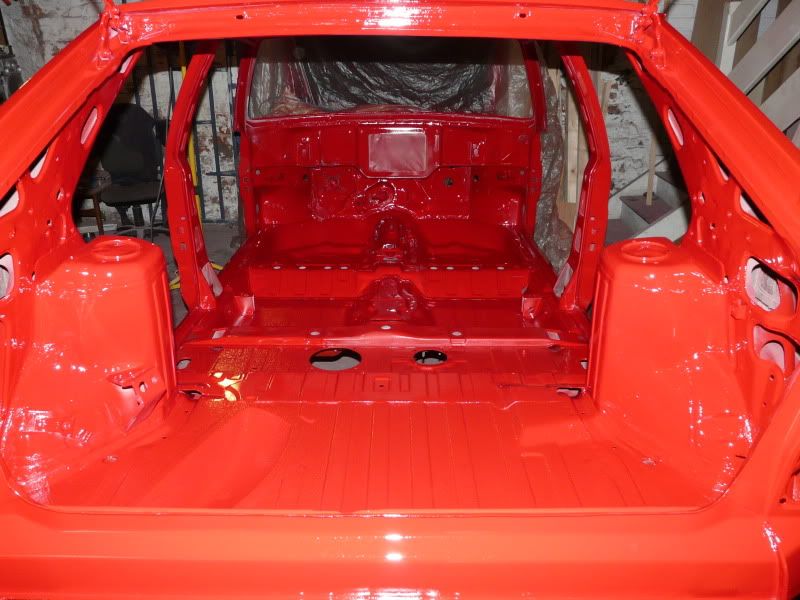
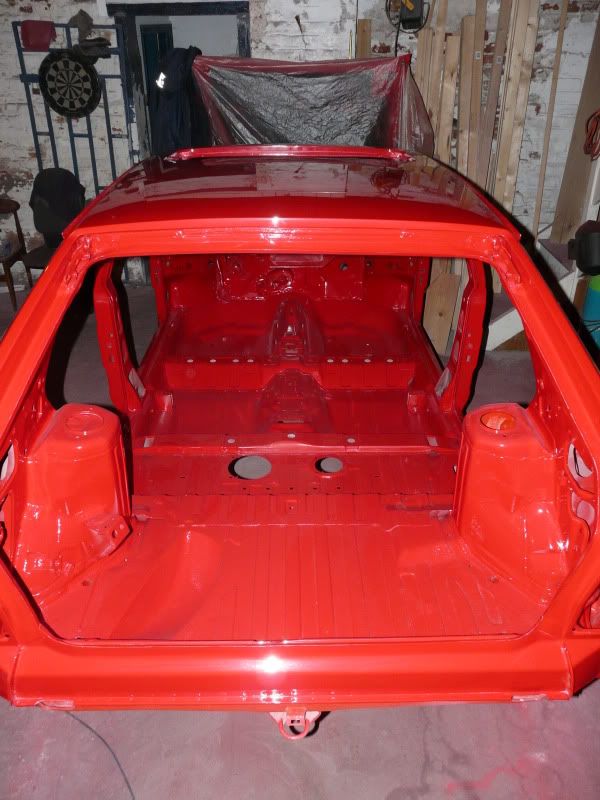
Did the foot wells and the boot floor, gave it plenty in the inner structure of the rear quarters too.
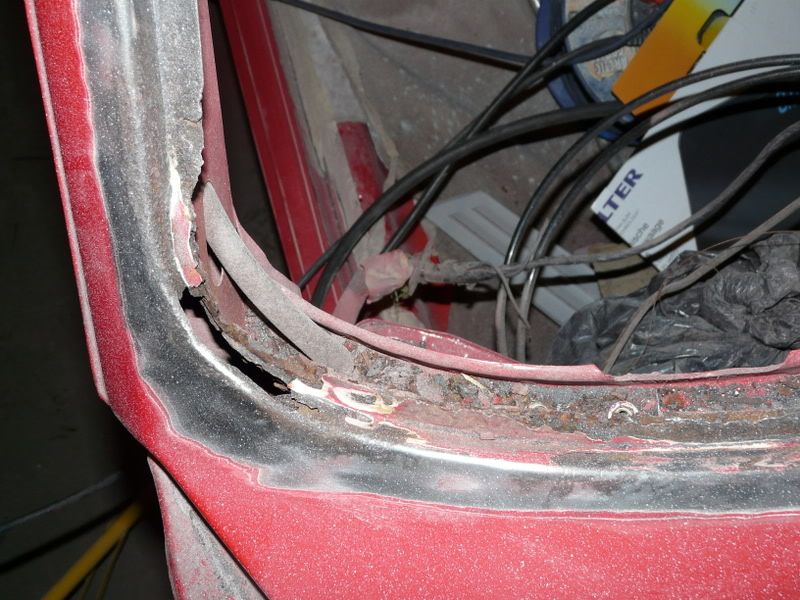
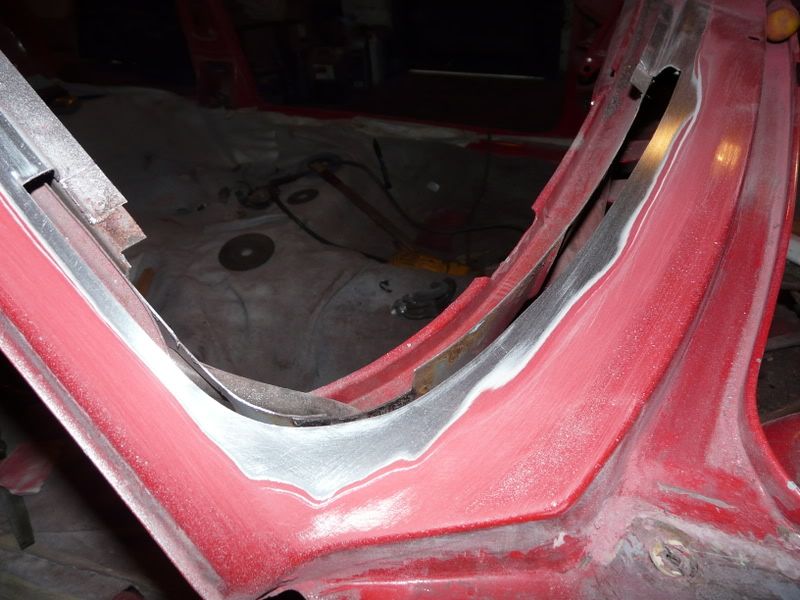
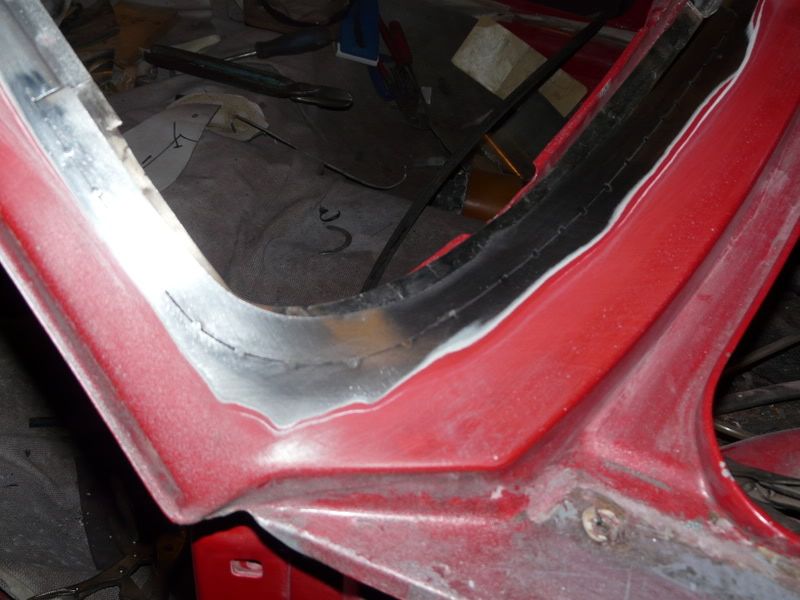
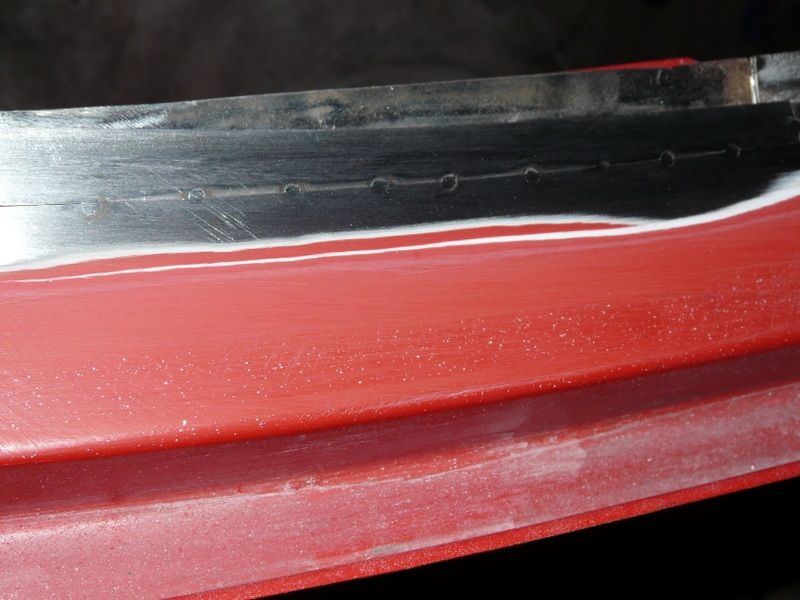
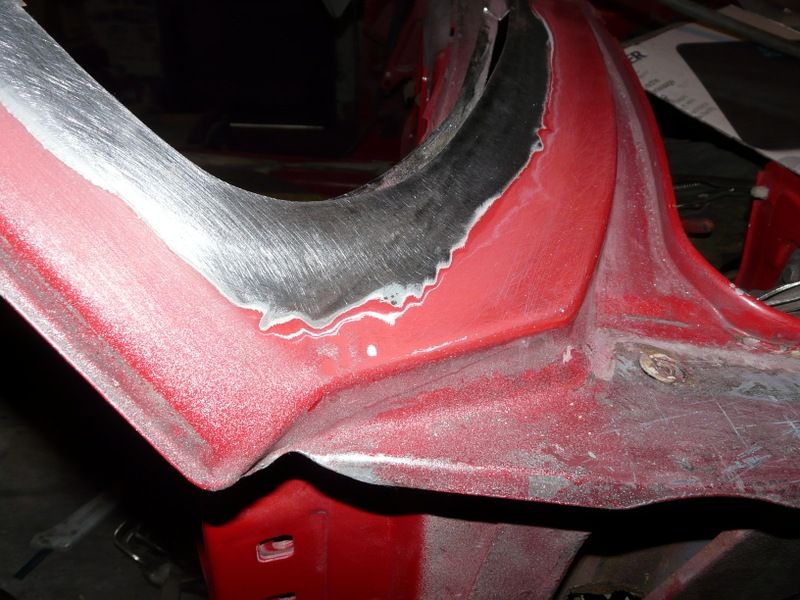
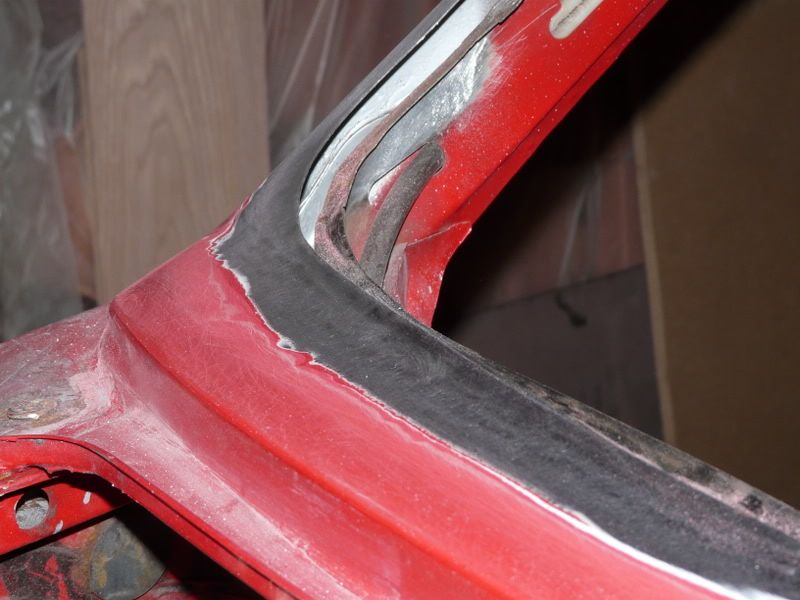
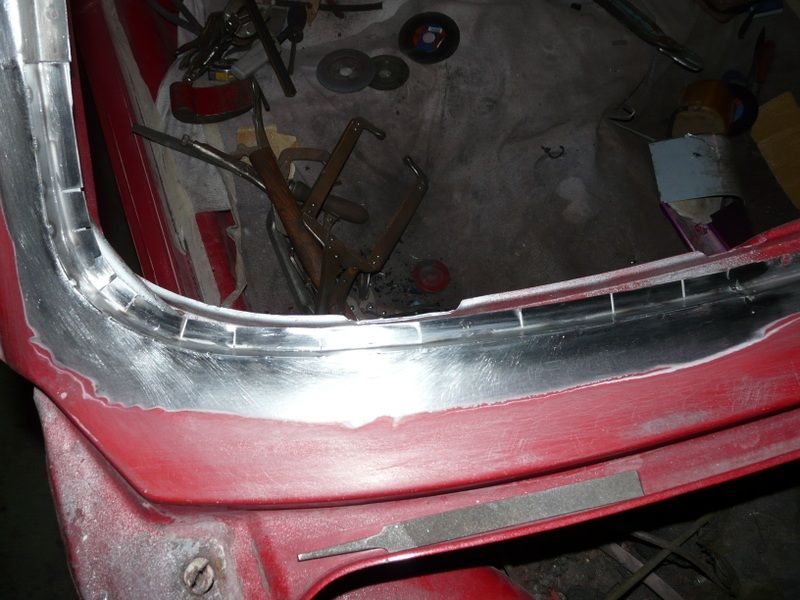
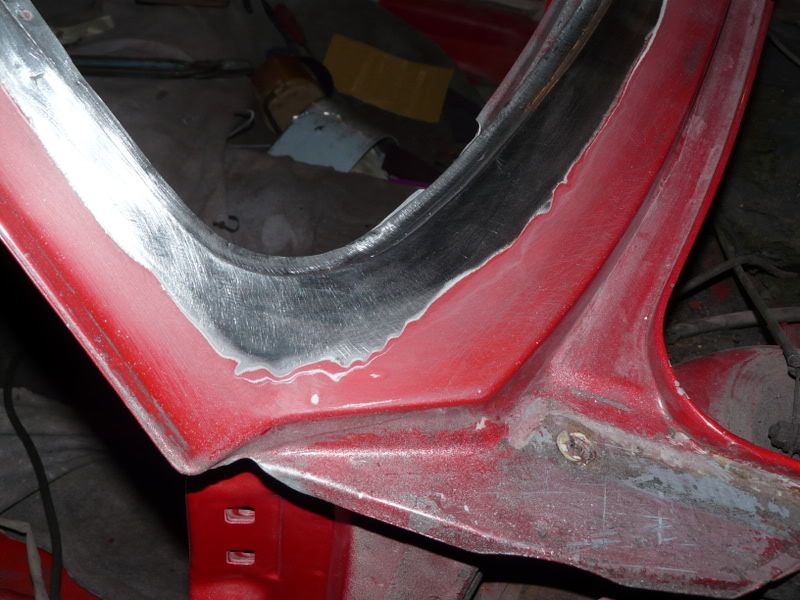
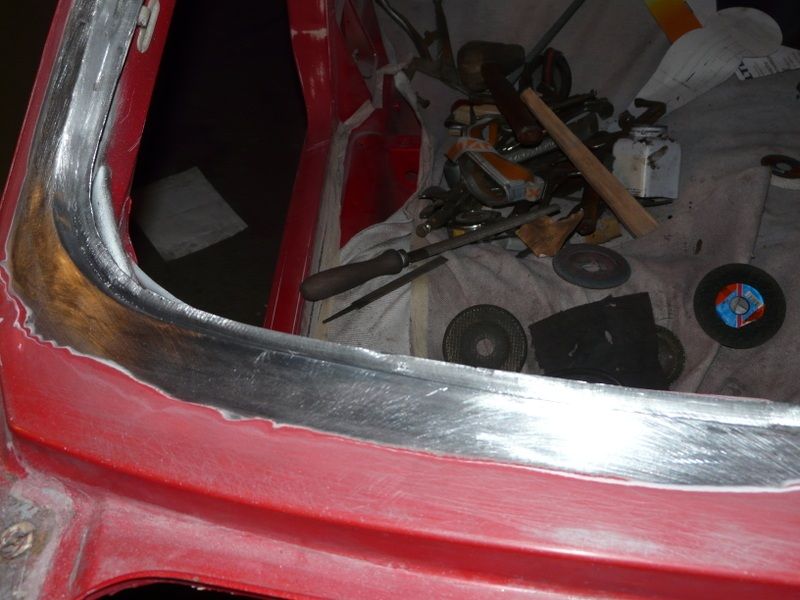
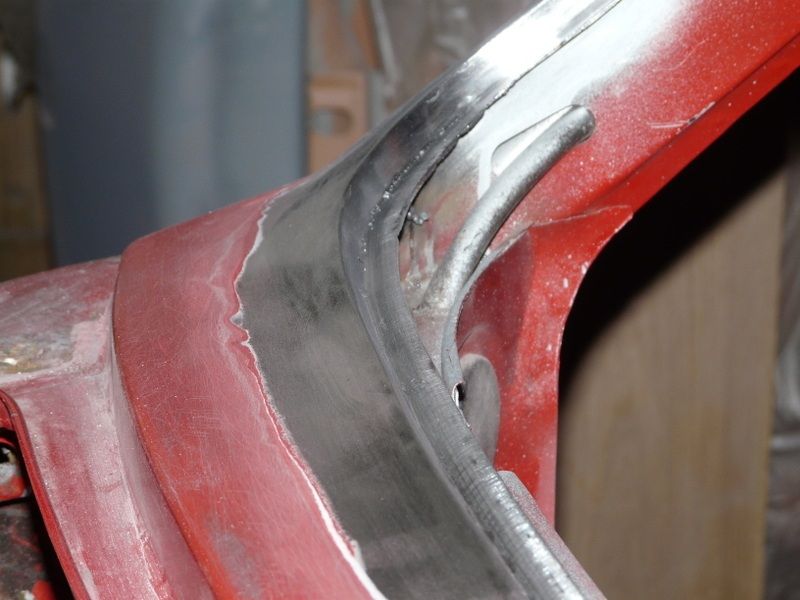
There's so many repairs to different areas that to photograph every stage (never mind post on the internet) is difficult but this is a sequence of stages to repair one of the lower corners on the windscreen scuttle which is a common area for attention.
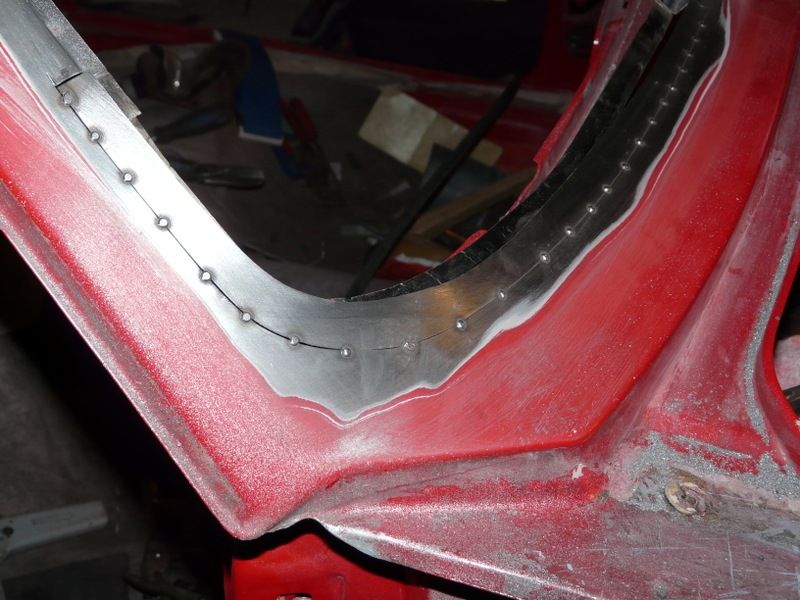
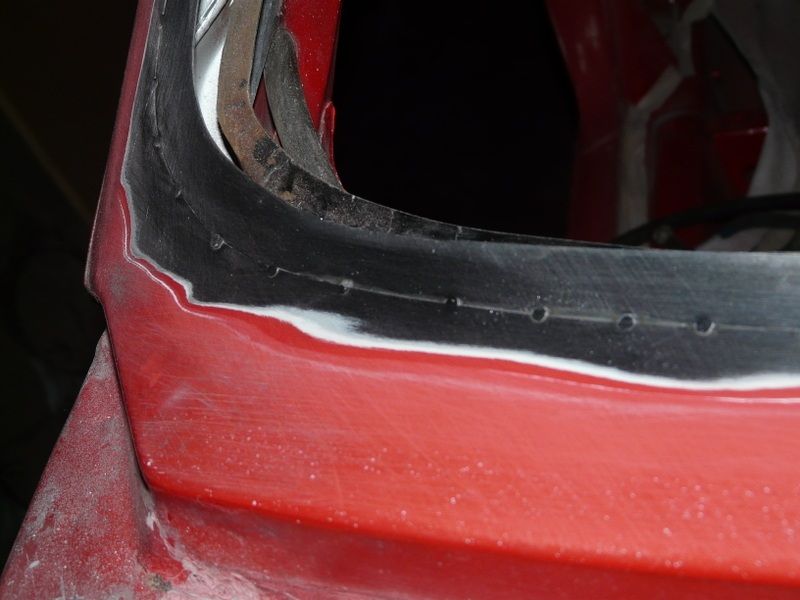
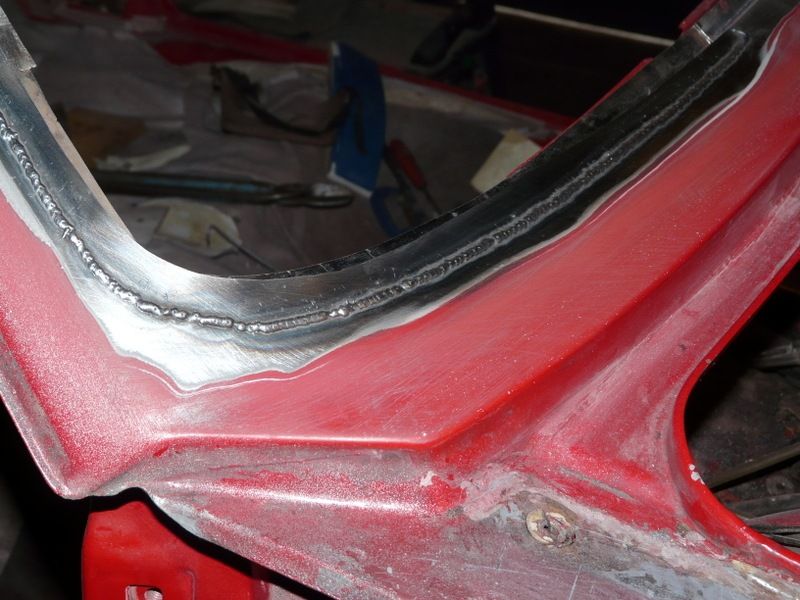
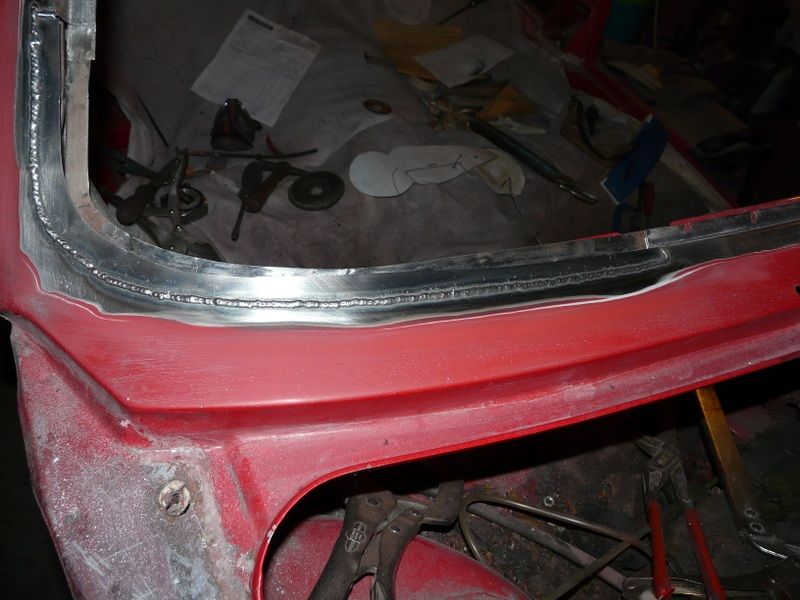
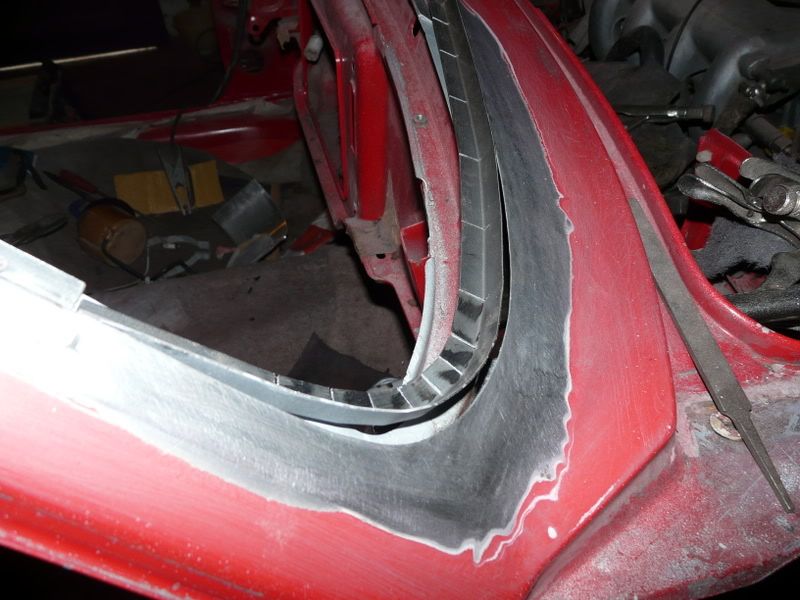
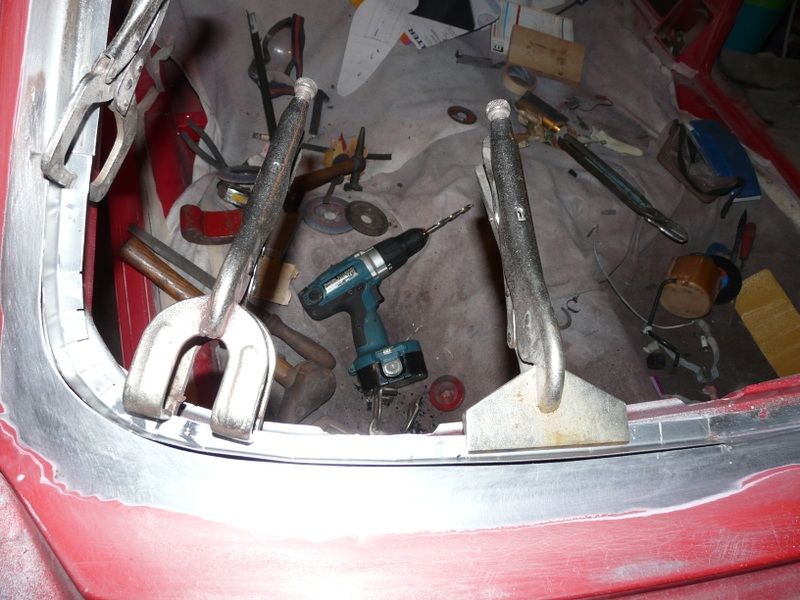

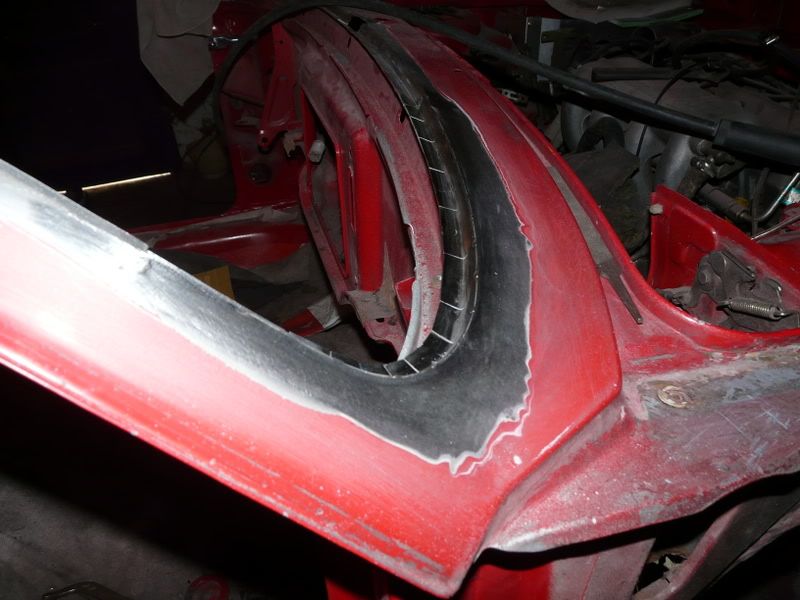
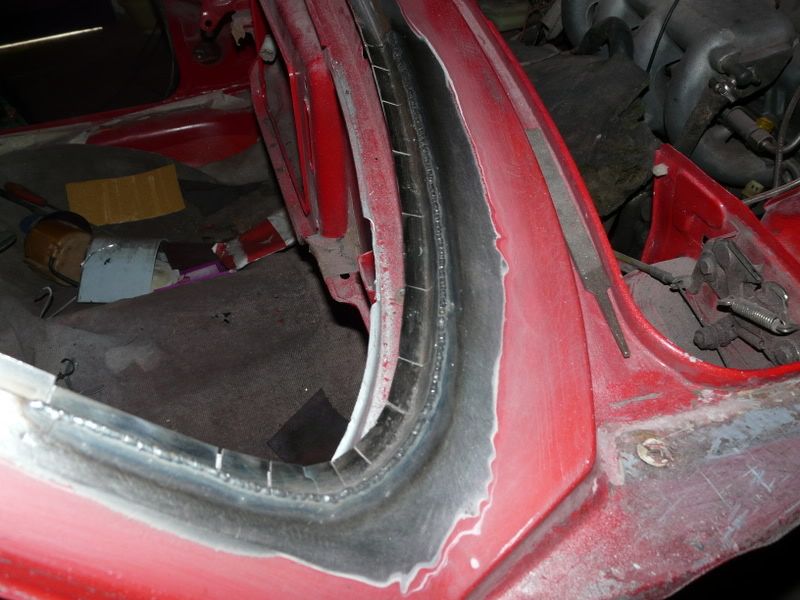
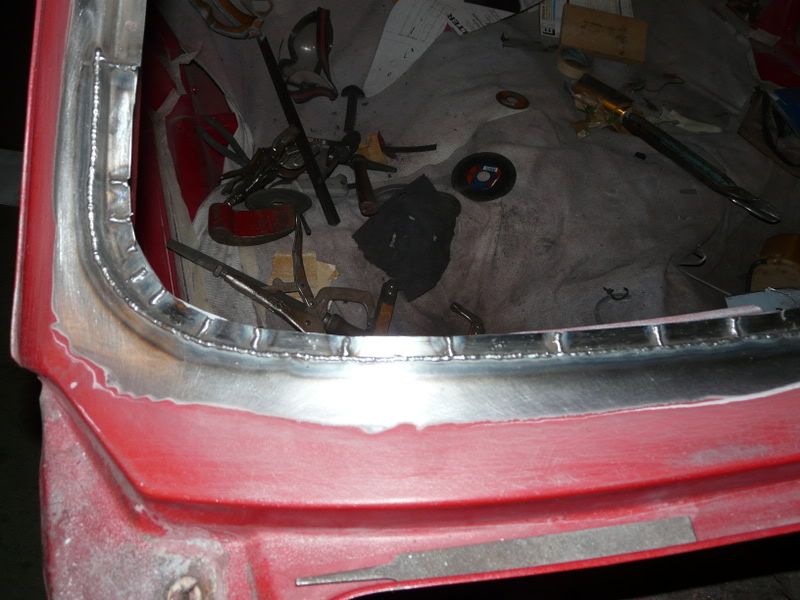
AND repeat ;)
Several stints of graft later it was time for another motivational coat of paint, the rear roof and around the sunroof had major repairs but I've not a complete sequence of event so won't post what I took. If you need them for work your doing just ask and I can send what I have.
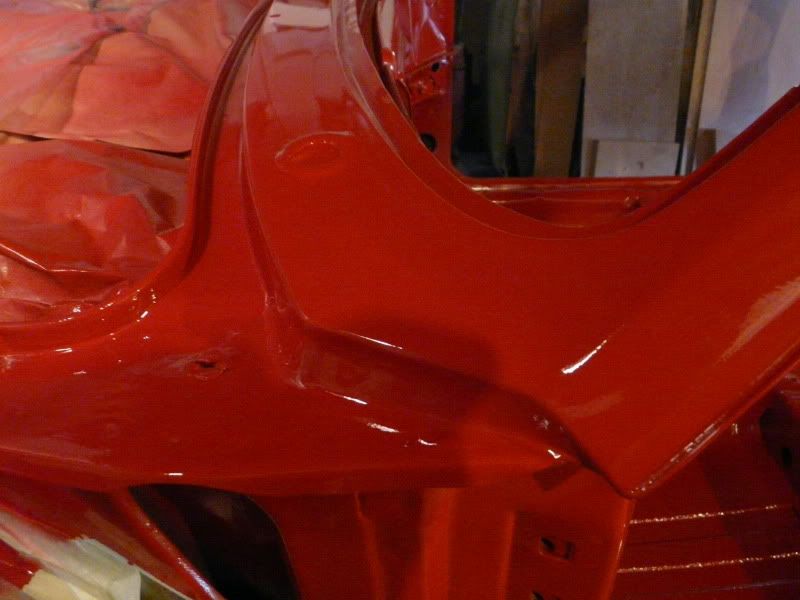
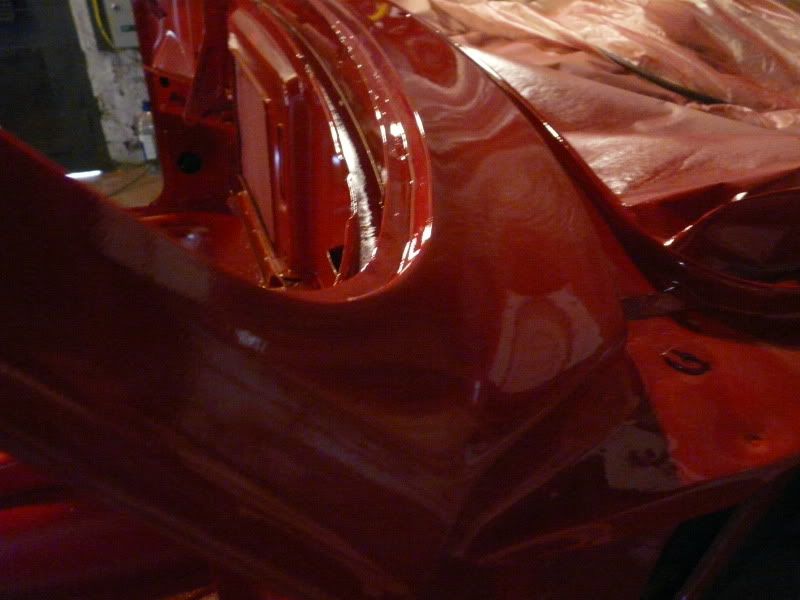
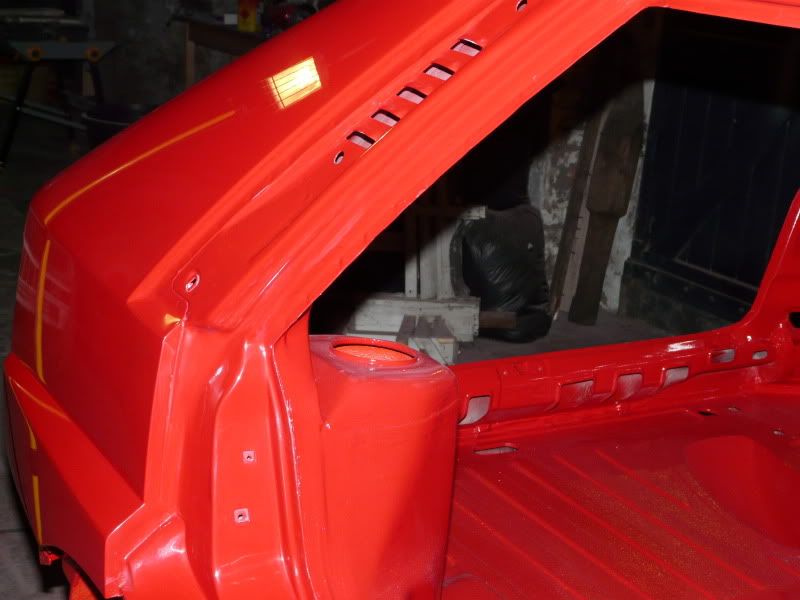
Painting is quick and easy IMO as long as certain efforts are made, I spray in a far from ideal enviroment (soon to be improved) but really as long as no reactions happen and it's not done by a blind man the real skill is in the flatting and polishing afterwards. I like polishing, after its finished ;)

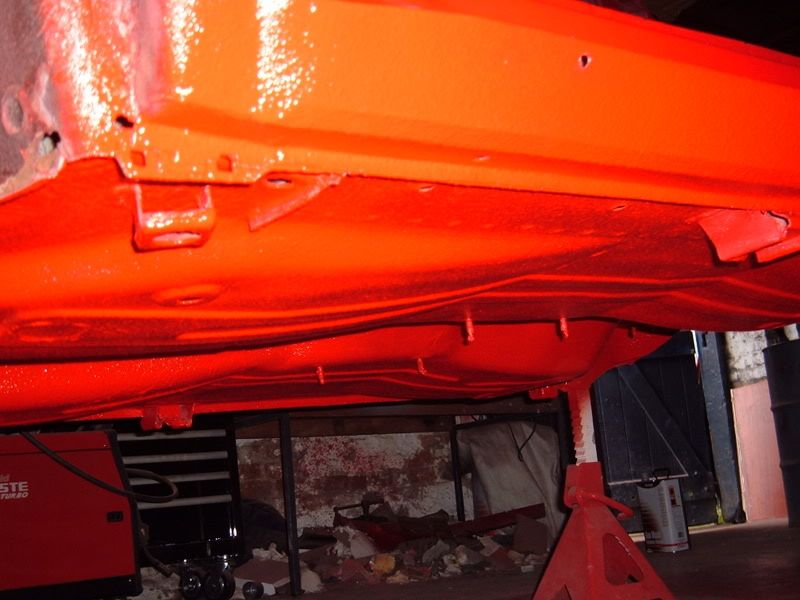
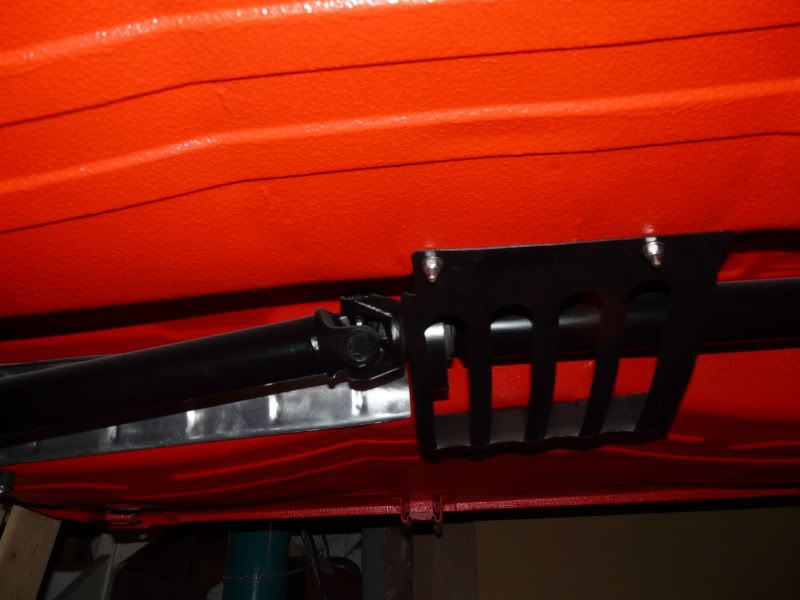
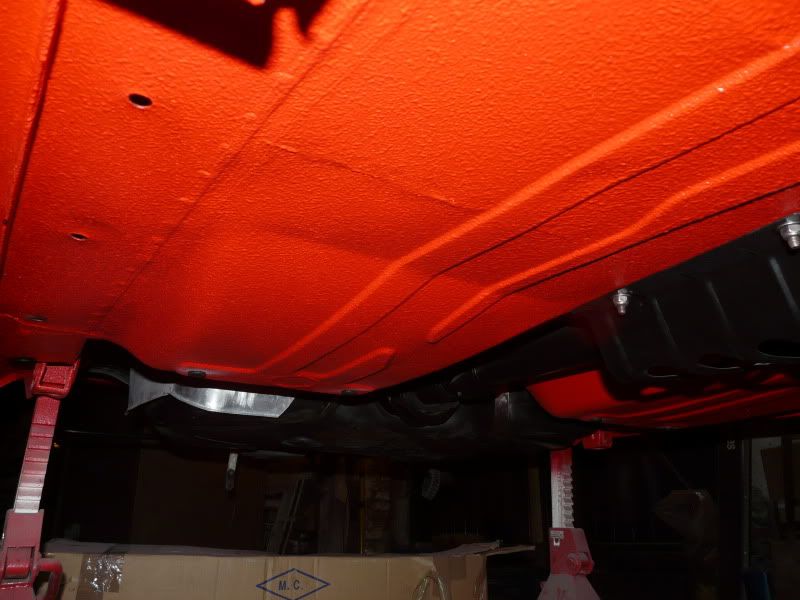
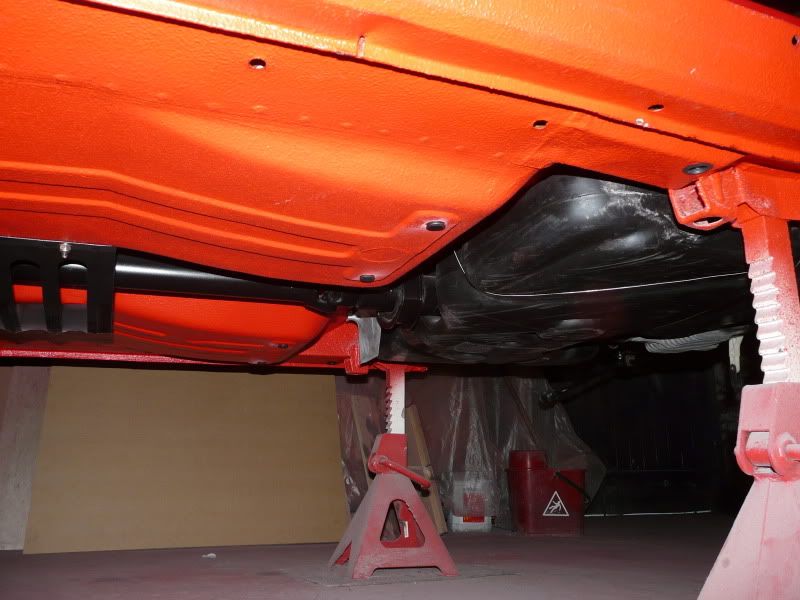
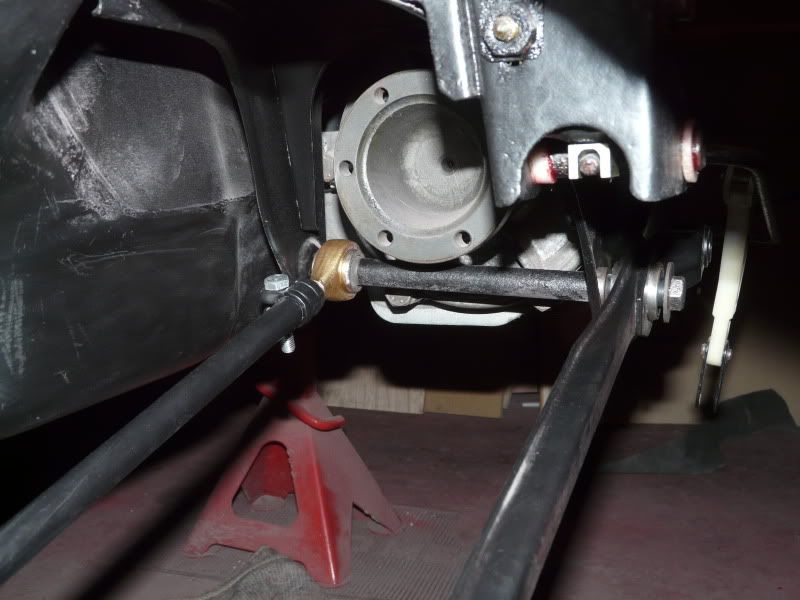
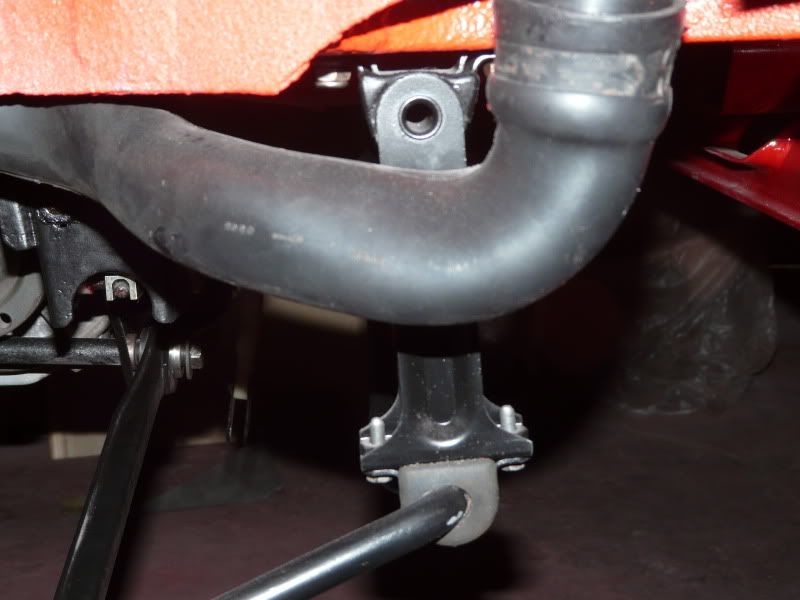
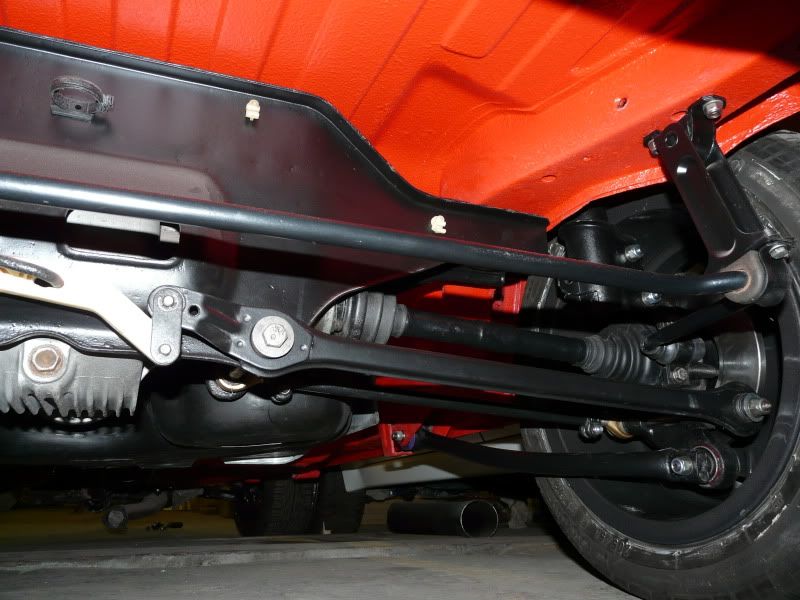
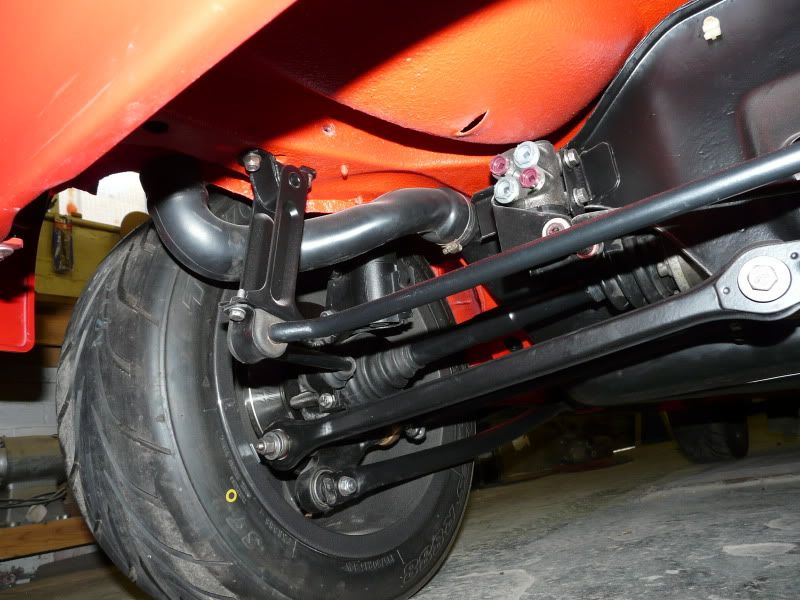
random underside
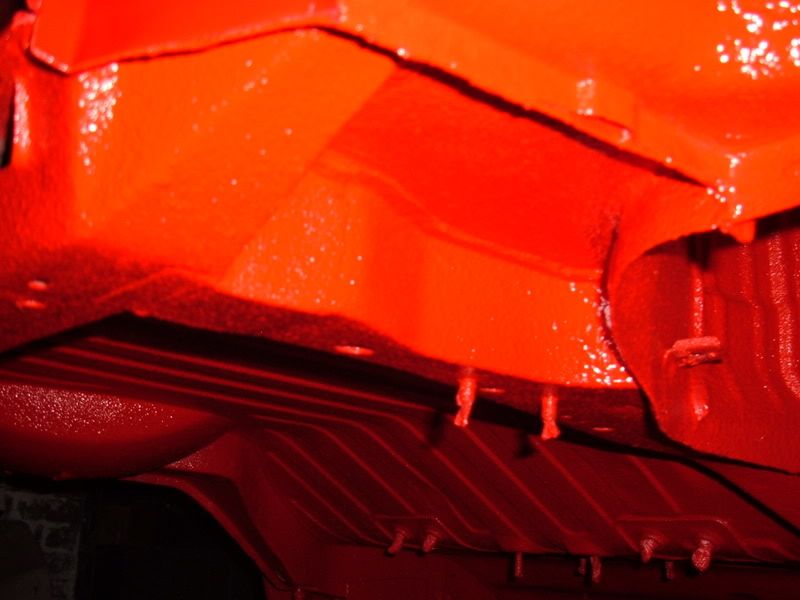
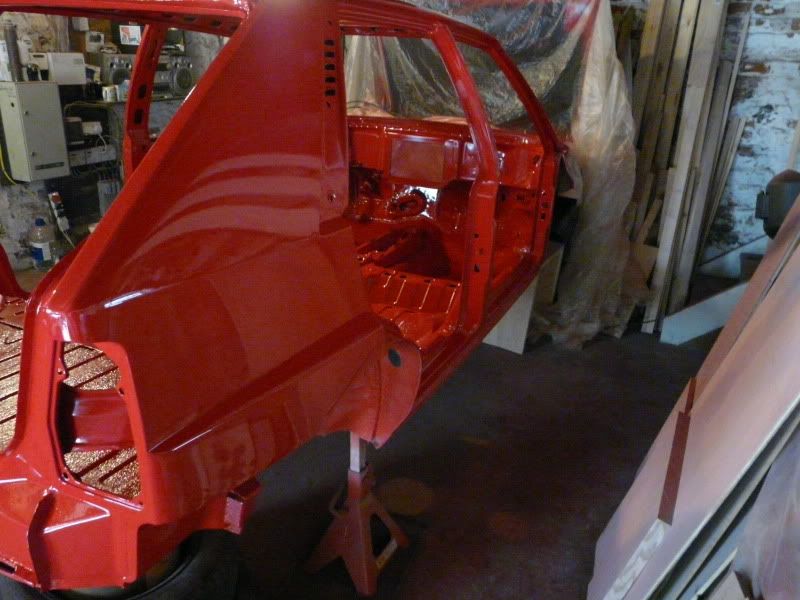
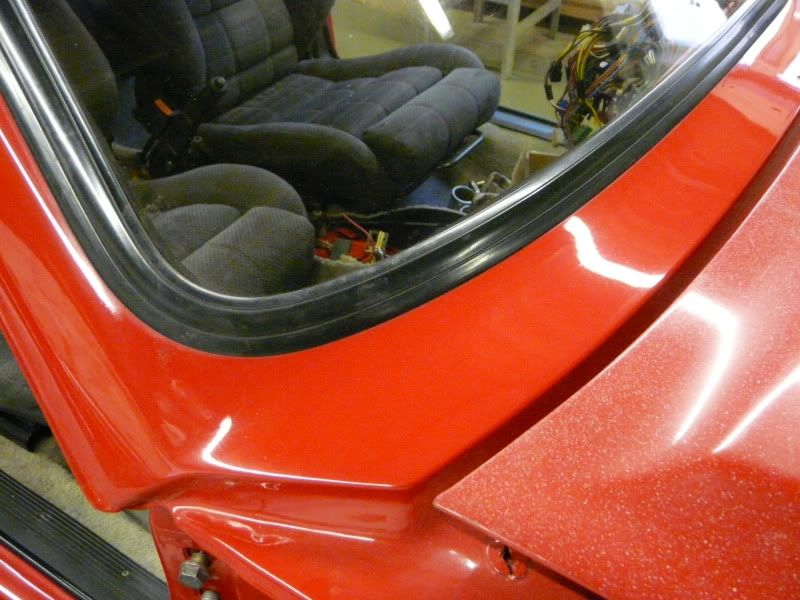
After a bit flat and polish

So that'll be fettled and repaired all over (from the front screen backwards) rust potion on all vital areas, 2k primer, seam sealer, more 2k primer, 2k top coat, flat off underside etc and raptor liner, repair over roof and prime, flat off all over and then a thick top coat of decent 2k and flatted off and polished, then I pumped 5 litres of waxoyl into everywhere I could find/access. It's taken some years of fits and starts (other projects to tend too) but it's starting to look pretty decent I think
NOTHING goes back on without being in fine fettle, new or better.

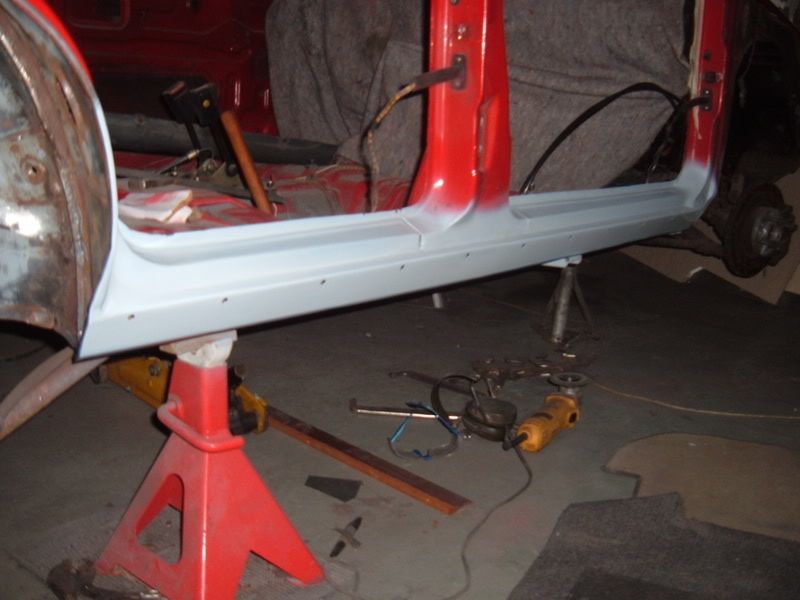
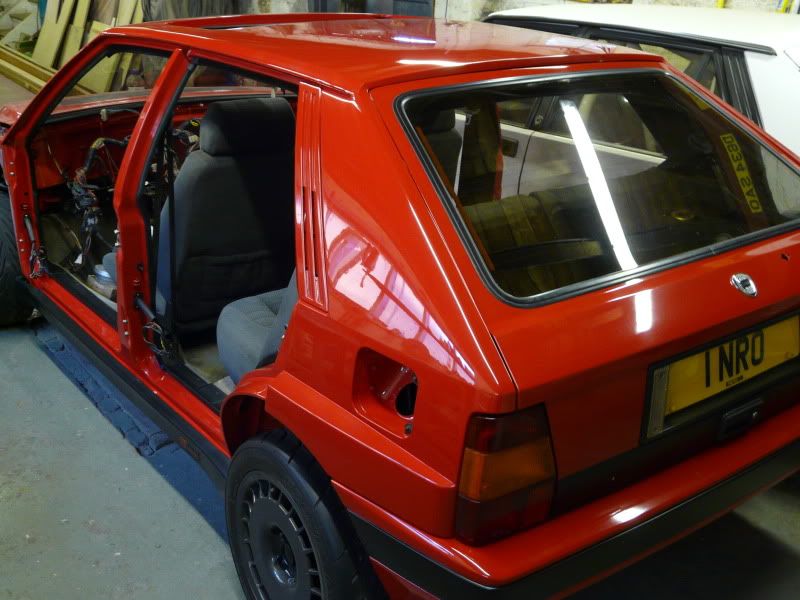
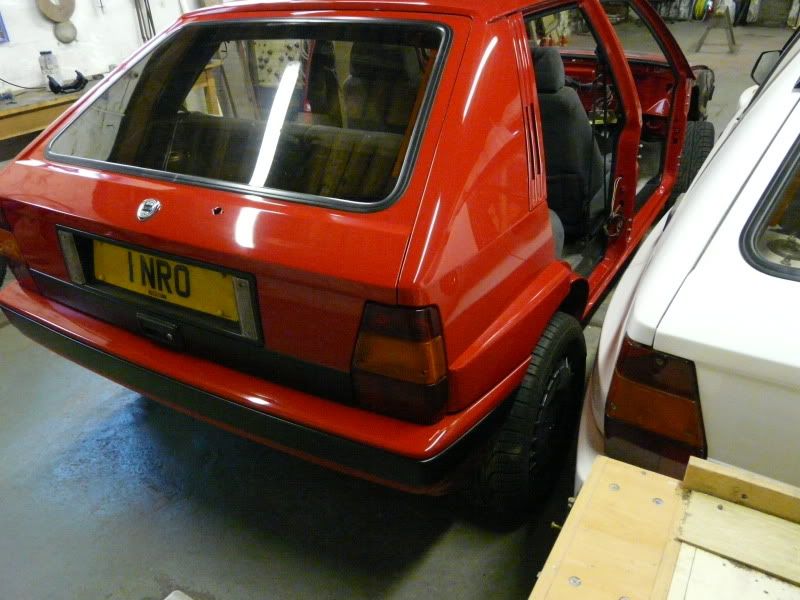
Back on it's wheels and moved back into a new position for engine removal. Raided the stash for an set of evo seats and carpet and scratted through boxes to find various clips, grommets, trims etc. The evo roof lining is to suit an electric sunroof whereas this car is just a manual sunroof so some stressful trimming of the fibre backing whilst not cutting through the alcantara was needed but thankfully all went well and it's as tight as a drum, not something I'd want to do again in a hurry. Rear bumper makes it look pretty complete from the back and as usual more elbow grease into the paint polishing, like a madman the door shuts got a dose of colour sanding and polishing.
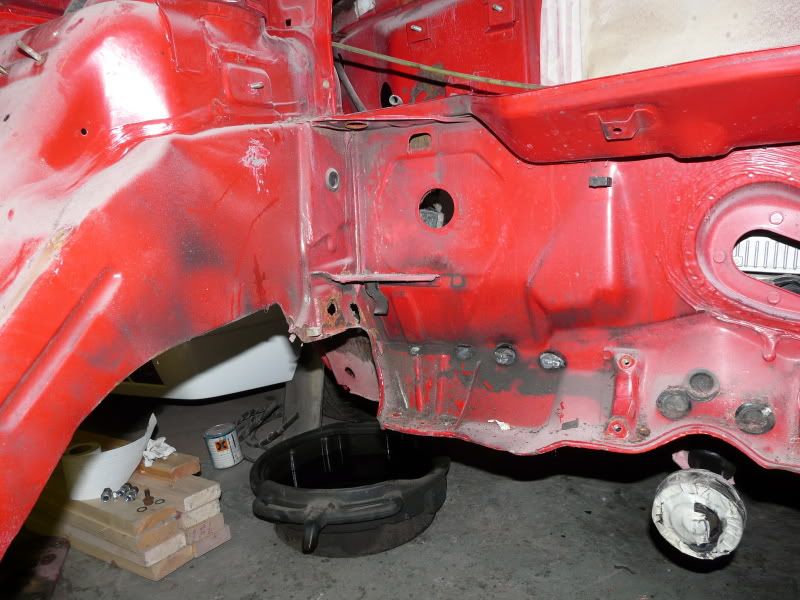
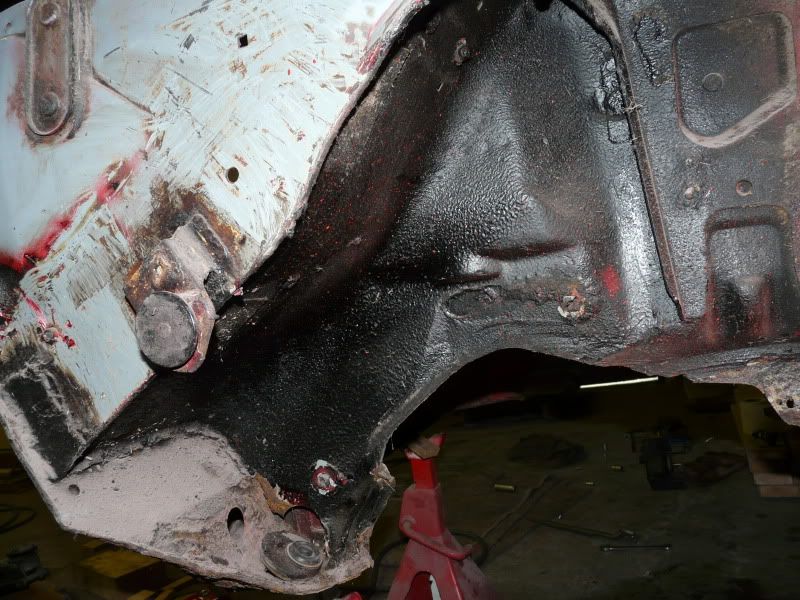
The engine came out easy enough with no nasties to be found in the engine bay, just wish the front inner wings were the same. Some cleaning off of all the gunge and seam sealer before starting the cut, make, weld, grind starts again but for now it'll join the back of the line as other stuff gets it's turn.


A long termer as you might gather but I'll post again when I get fired up again, Christmas holidays often see me holed up playing Scrooge and pushing this project on, we'll see in time. Aplogies for the lack of engine stuff (which this website is really about I know) but when the time comes I do a similar sequence for the oily bits and the direction I take it, I have some plans in mind.
Nik
A couple of the nasties started with, pretty much the same throughout the shell, what was I thinking!
No mercy, it needs cut out. One sill, I didn't get a pic of the pile of scrap I cut off around the car but it was quite a sight.
A run down of the sill repairs, made the inner, bodged a middle and lavished an original sill on the outer.
A pic of the repaired inner wing show above, many patchs and mucho grinding. No process pics due to being focused on getting it done rather than photography. There are a couple of hard to do areas in here.
The nature of a patch repair of which there are many in this project.
Once I'd been right round the outer lower edge (including cutting off and repairing before reattatching rear cross member and rear quarter lower repairs, boot shut areas, rear floors etc etc.) the floor pan took a dose of blood sweat and tears. A few repairs but generally not bad, stitch welded all over which made an excellent difference in ridgidity to the shell. This won't have a cage fitted but the amount of plates that have been welded in and the stitch welding have stiffened it up to the point when it's jacked on one corner the whole end lifts together. They don't usually do that!
By this stage a motivational primer session was called for, nothing better than getting it all one colour. The underneath too, stripped to bare metal and a coat of "Granville" rust restorer on all seams etc before a thick 2K. Actually did it twice, once before seam sealing and once after.
So then I painted the lower half of the car with 2k, nothing too fancy, just a good thick coat top and bottom.
So, then I rubbed down the underneath to provide a key for the "Raptor Liner" which is bomb proof. I have no worries attacking it with a blunt screw driver and it actually abrades the plastic handle. Excellent stuff, just don't if you ever use it get it on your skin. I spent a week with a weird pinky red face and hands after trying to get it off with thinners only to smear it all over!
Did the foot wells and the boot floor, gave it plenty in the inner structure of the rear quarters too.
There's so many repairs to different areas that to photograph every stage (never mind post on the internet) is difficult but this is a sequence of stages to repair one of the lower corners on the windscreen scuttle which is a common area for attention.
AND repeat ;)
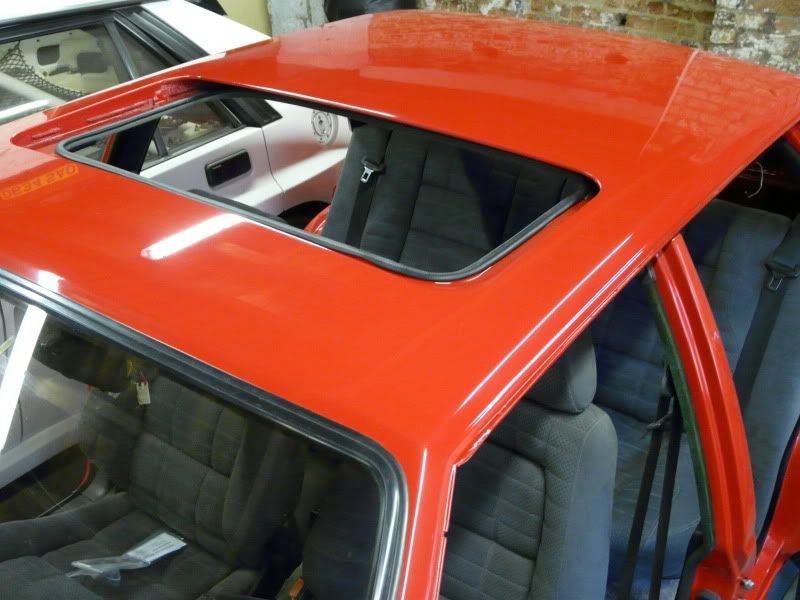
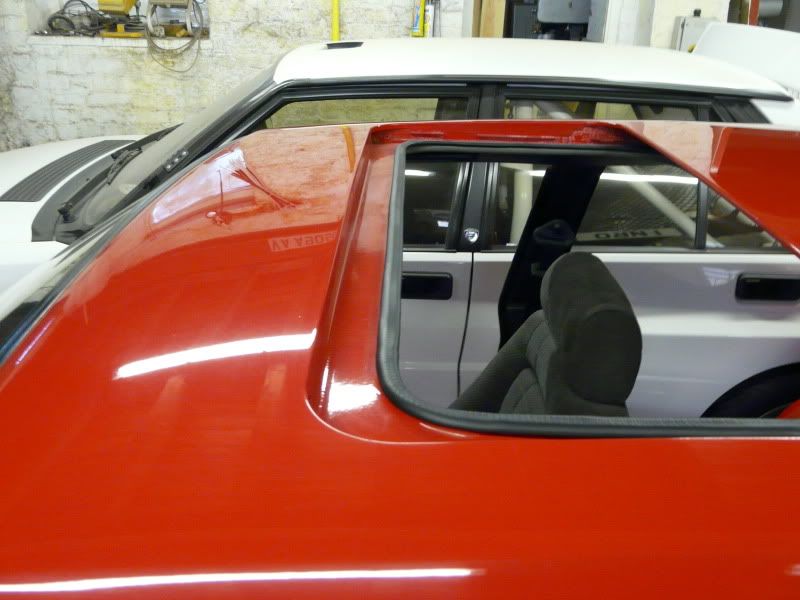
Several stints of graft later it was time for another motivational coat of paint, the rear roof and around the sunroof had major repairs but I've not a complete sequence of event so won't post what I took. If you need them for work your doing just ask and I can send what I have.
Painting is quick and easy IMO as long as certain efforts are made, I spray in a far from ideal enviroment (soon to be improved) but really as long as no reactions happen and it's not done by a blind man the real skill is in the flatting and polishing afterwards. I like polishing, after its finished ;)
random underside
After a bit flat and polish
So that'll be fettled and repaired all over (from the front screen backwards) rust potion on all vital areas, 2k primer, seam sealer, more 2k primer, 2k top coat, flat off underside etc and raptor liner, repair over roof and prime, flat off all over and then a thick top coat of decent 2k and flatted off and polished, then I pumped 5 litres of waxoyl into everywhere I could find/access. It's taken some years of fits and starts (other projects to tend too) but it's starting to look pretty decent I think
NOTHING goes back on without being in fine fettle, new or better.
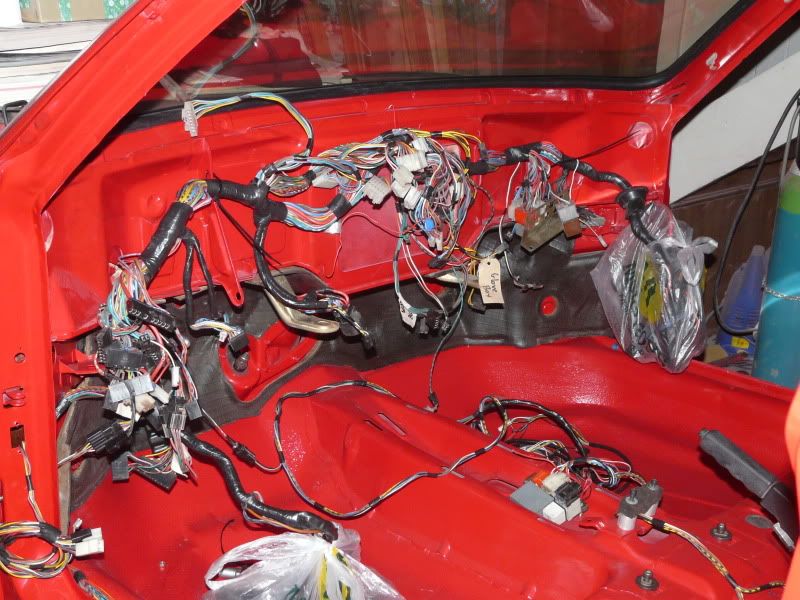
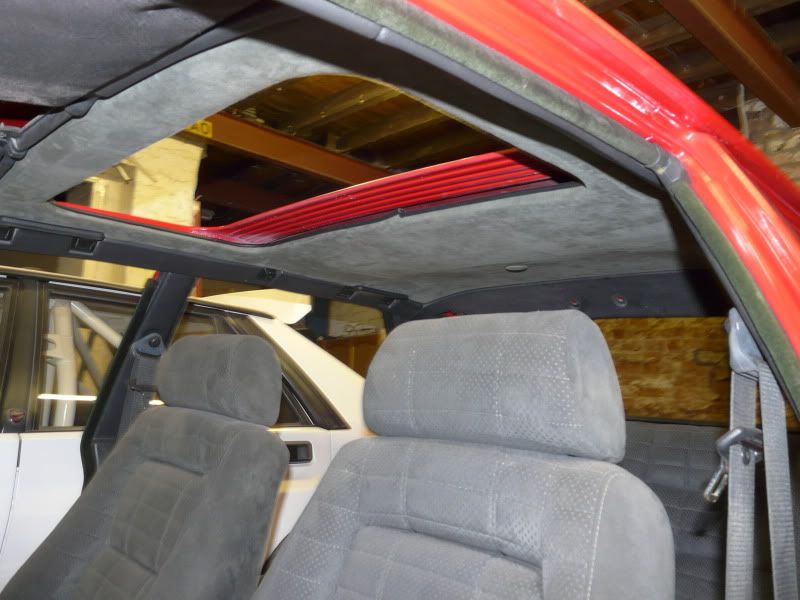
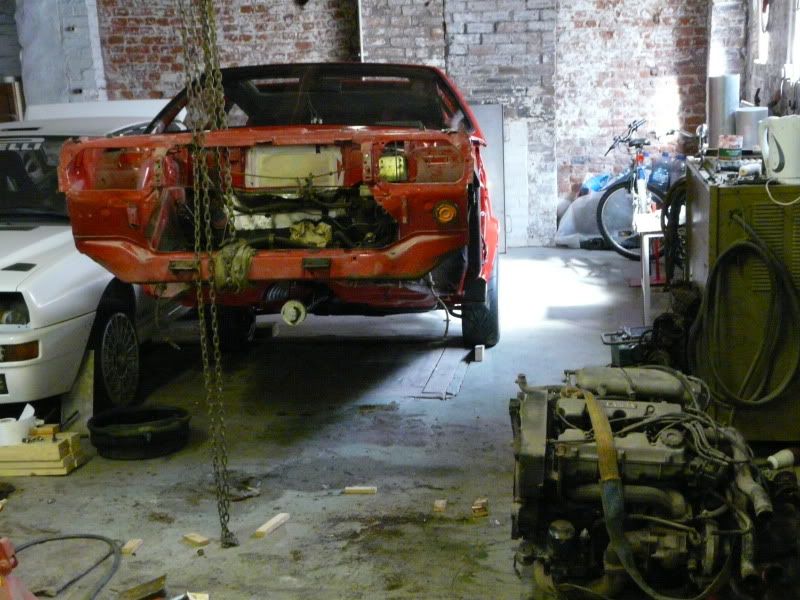
Back on it's wheels and moved back into a new position for engine removal. Raided the stash for an set of evo seats and carpet and scratted through boxes to find various clips, grommets, trims etc. The evo roof lining is to suit an electric sunroof whereas this car is just a manual sunroof so some stressful trimming of the fibre backing whilst not cutting through the alcantara was needed but thankfully all went well and it's as tight as a drum, not something I'd want to do again in a hurry. Rear bumper makes it look pretty complete from the back and as usual more elbow grease into the paint polishing, like a madman the door shuts got a dose of colour sanding and polishing.
The engine came out easy enough with no nasties to be found in the engine bay, just wish the front inner wings were the same. Some cleaning off of all the gunge and seam sealer before starting the cut, make, weld, grind starts again but for now it'll join the back of the line as other stuff gets it's turn.
A long termer as you might gather but I'll post again when I get fired up again, Christmas holidays often see me holed up playing Scrooge and pushing this project on, we'll see in time. Aplogies for the lack of engine stuff (which this website is really about I know) but when the time comes I do a similar sequence for the oily bits and the direction I take it, I have some plans in mind.
Nik