Plenum and distributor Problems!
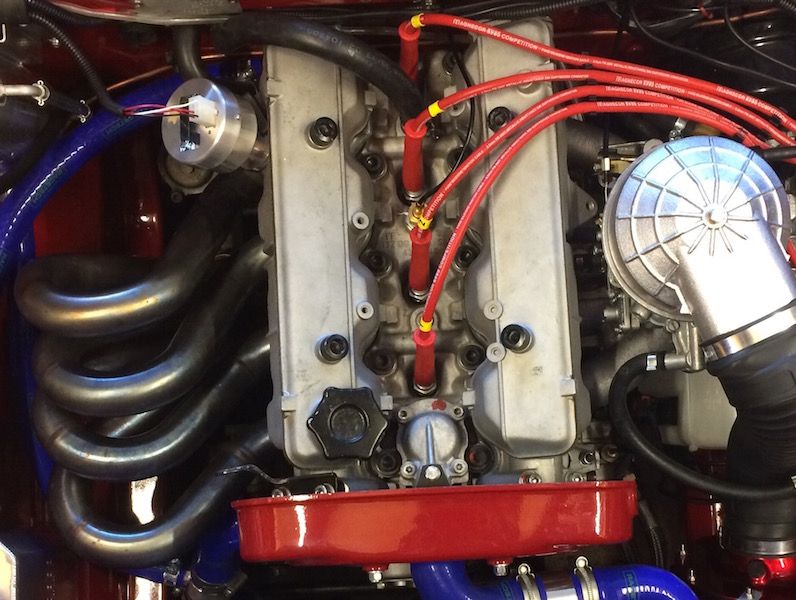
Last October I took my Spider to the renowned tuning experts at Northampton Motorsports to do a rolling road test. This was to iron out a small flat-spot which I thought could be resolved by re-jetting the carb plus I wanted to do a power run. However, they discovered that not only was the timing on the distributor jumping erratically, but that the small plenum over the carb was sapping 10 bhp!
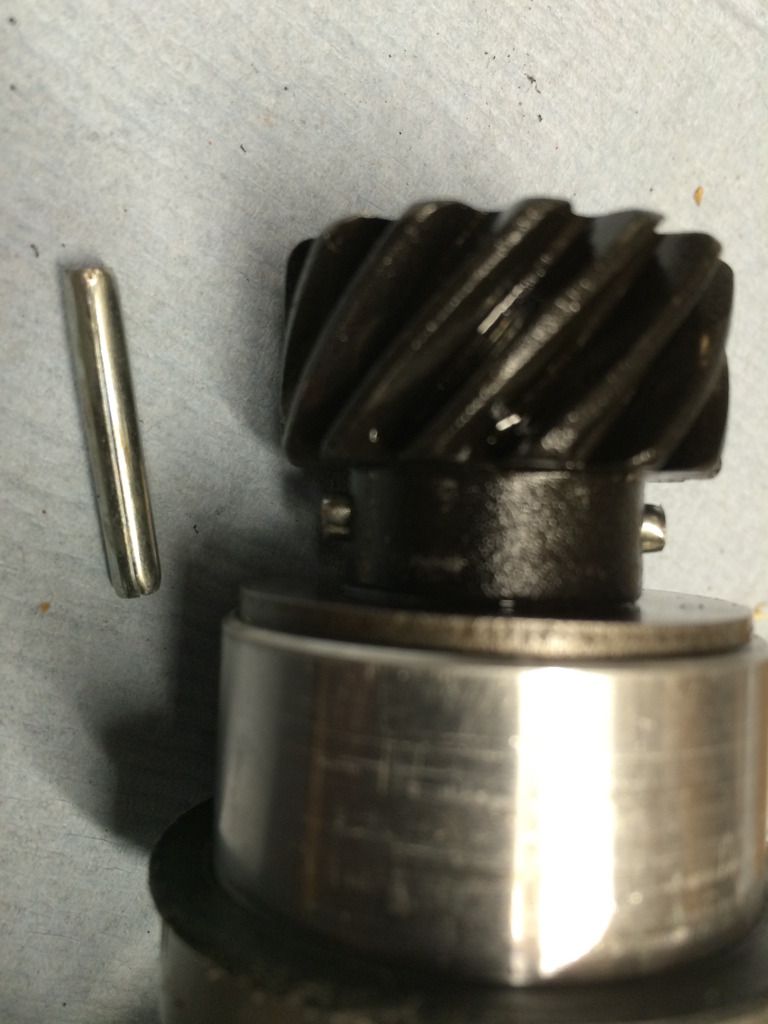
The problem with the distributor was due to the pin holding the drive gear having slipped out and was hitting the cam casing. This must have been cause of the erratic timing as the tapping would cause the bob-weights to jump.
The bent pin having drifted out.
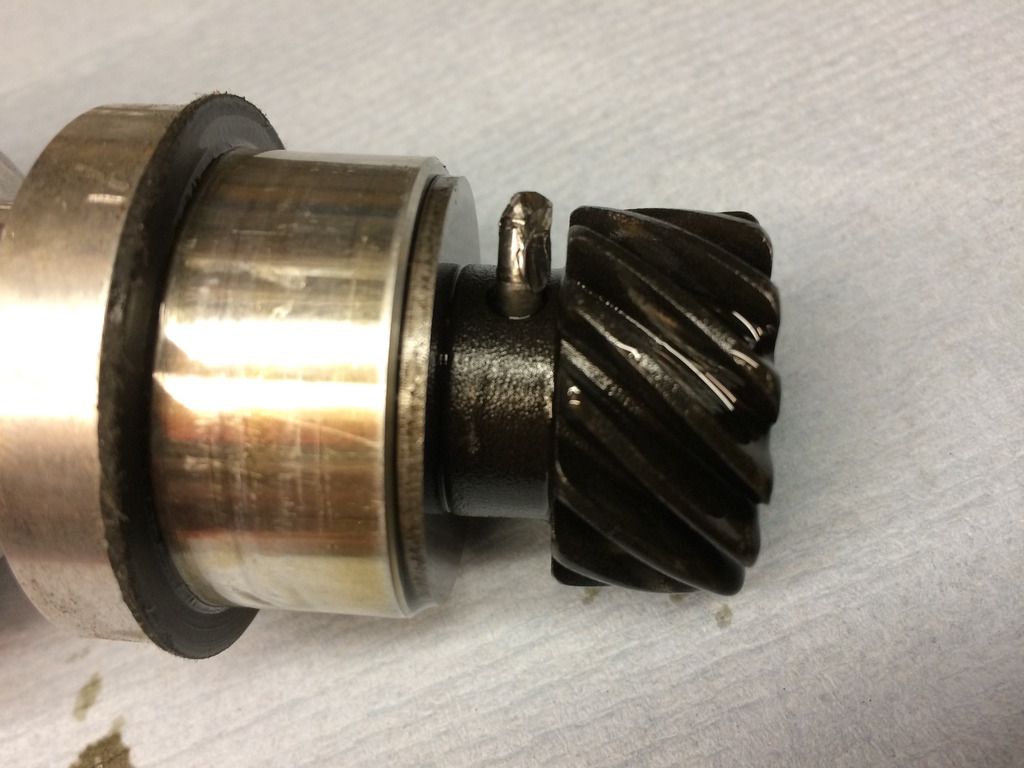
A witness mark on the casing is visible.

Finally fixed with a roll-pin.
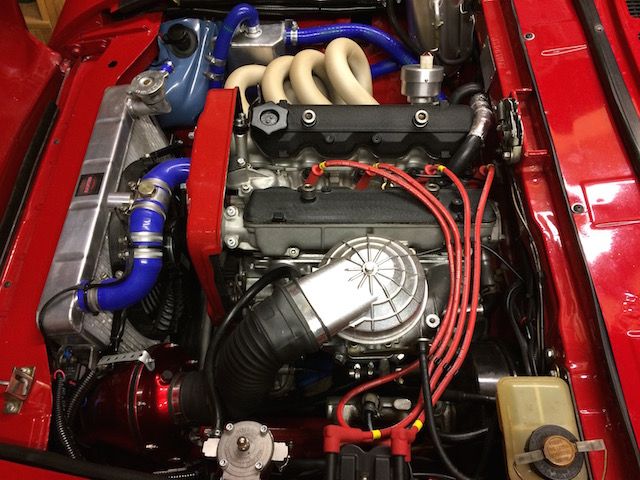
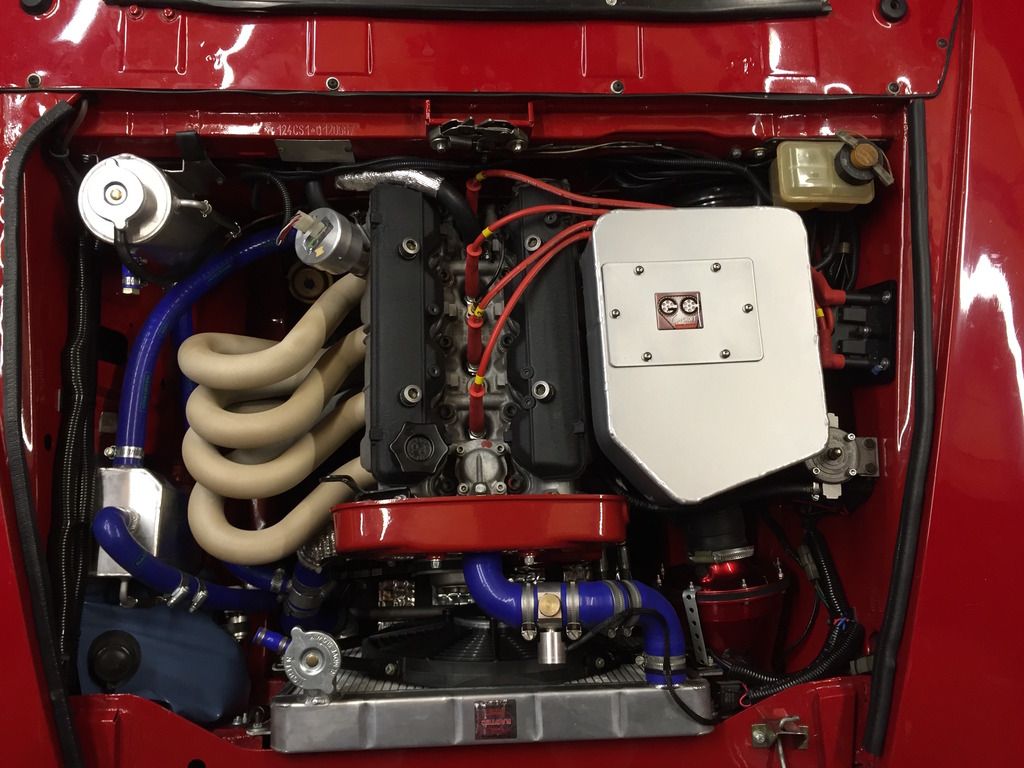
 Ditching the plenum chamber
The other problem was the small plenum chamber, although neat and well made, it was sapping 10 bhp!
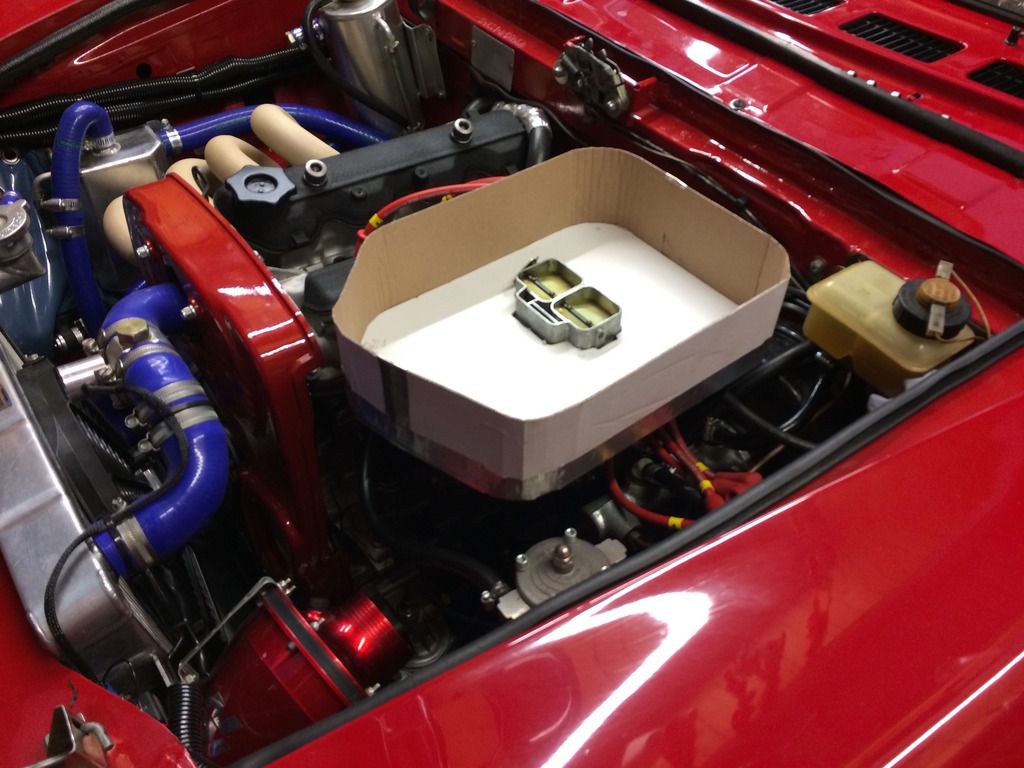
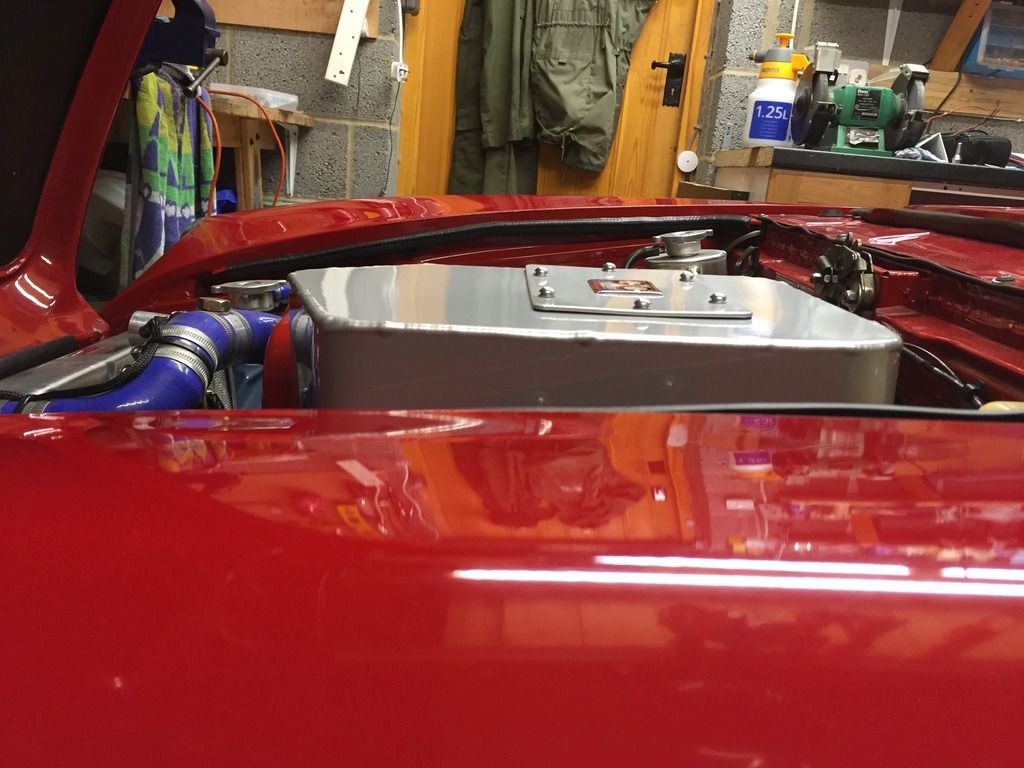
So I went to see the engineers at my work and I fabricated a cardboard dummy airbox to help them make one from aluminum. I made a pillar of Plasticine and placed it on the top of the cardboard lid (not shown) to check that it cleared to bonnet.
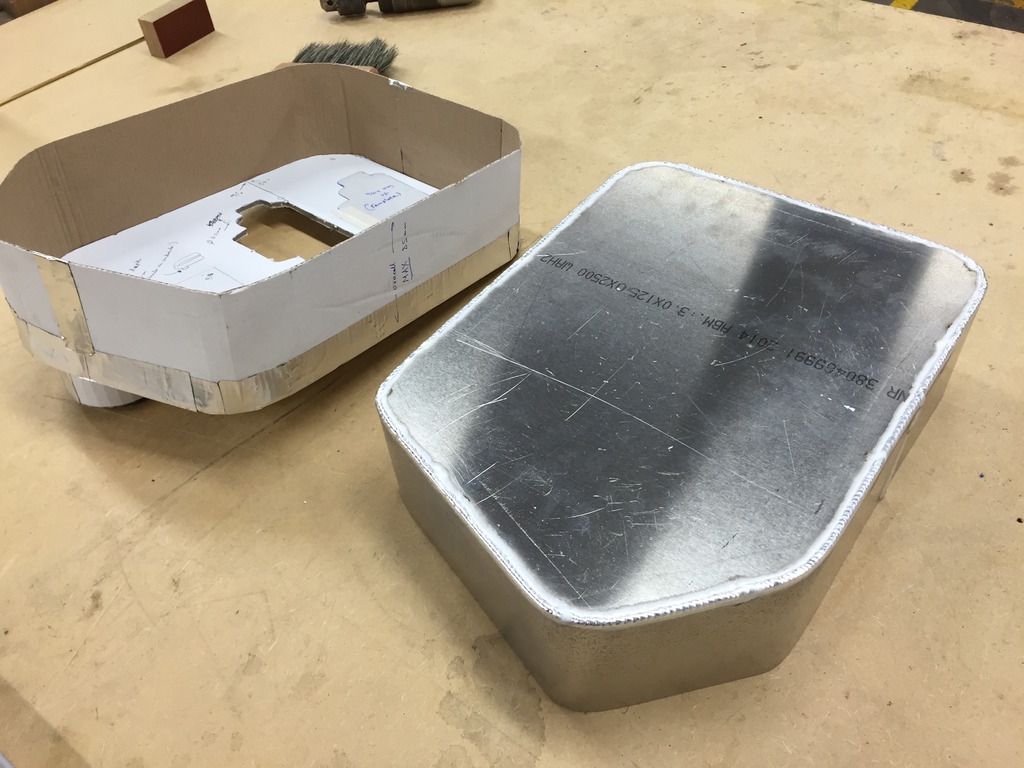
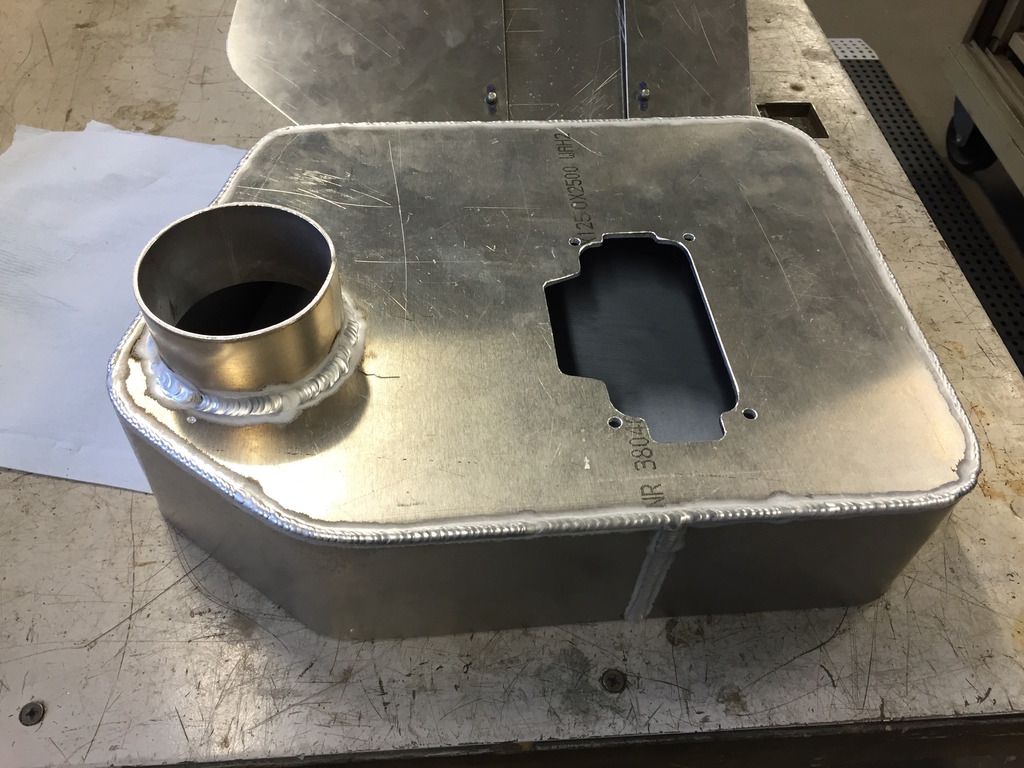
The previous way I have seen the lid to an airbox is to have a complicated system of catches and seals. I didn't like this design so I opted for a closed box with an access hole. This is not only far easier to fabricate but much stronger and there are no clips to come undone. Plus I was able to get aerospace grade anchor nuts to secure the lid.
The top and base are made from 3 mm sheet and the sides from 2.5 mm sheet. Consequently, due to this construction, the airbox is extremely rigid.
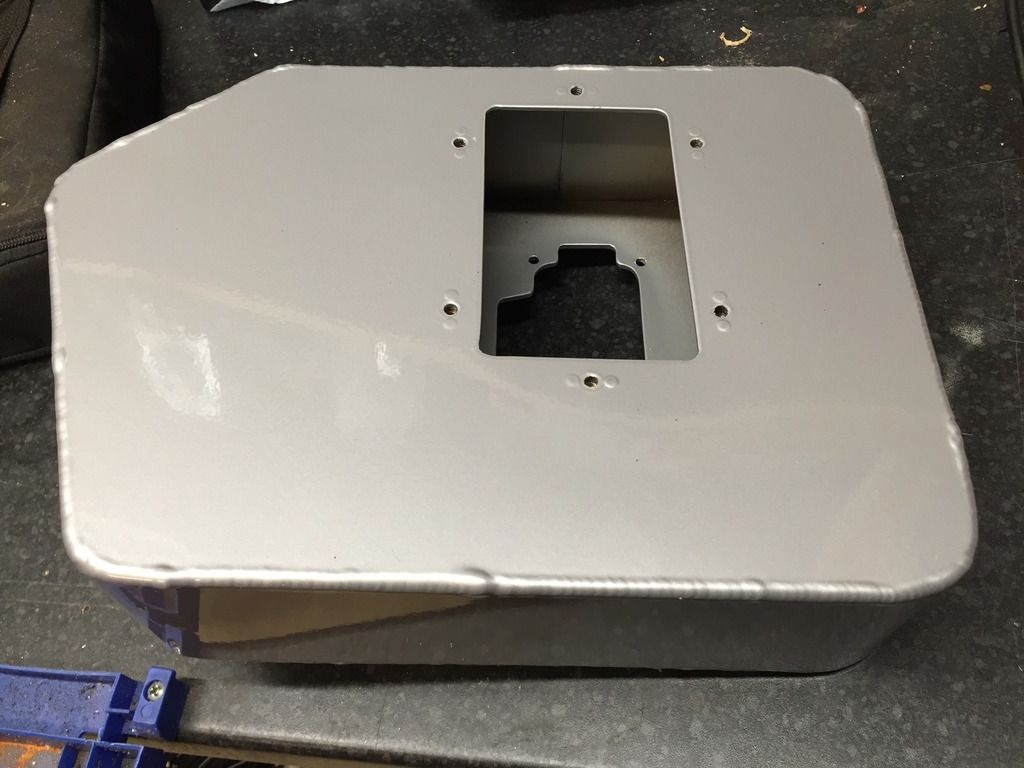
Base and top with access hole before welding together.
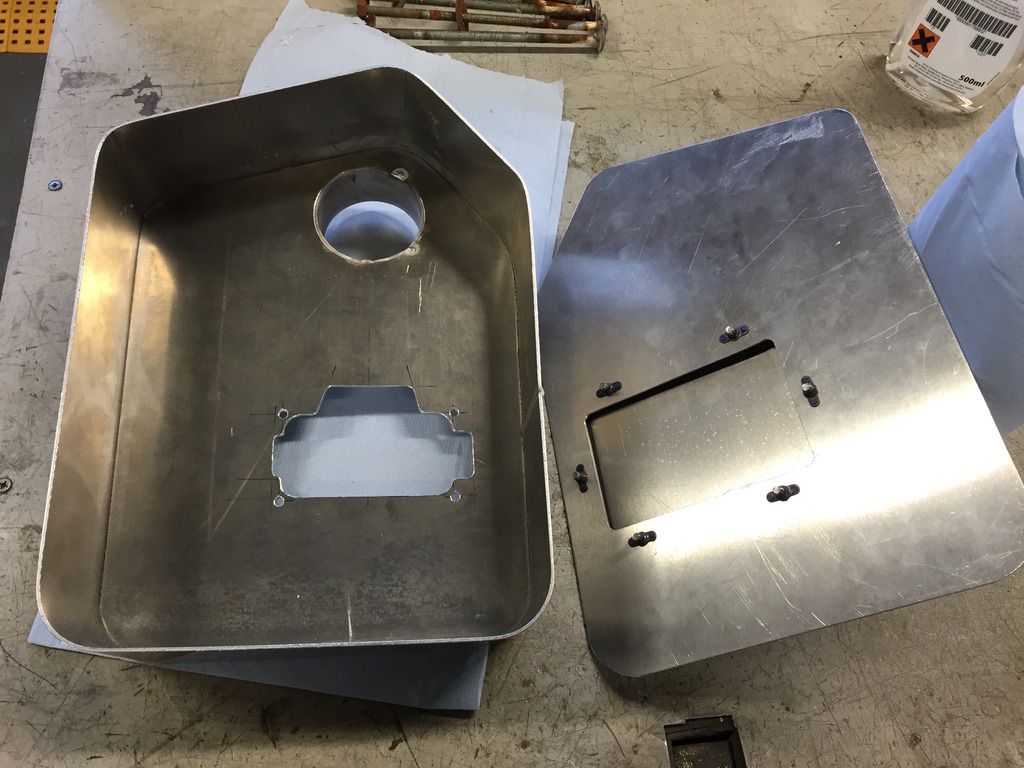
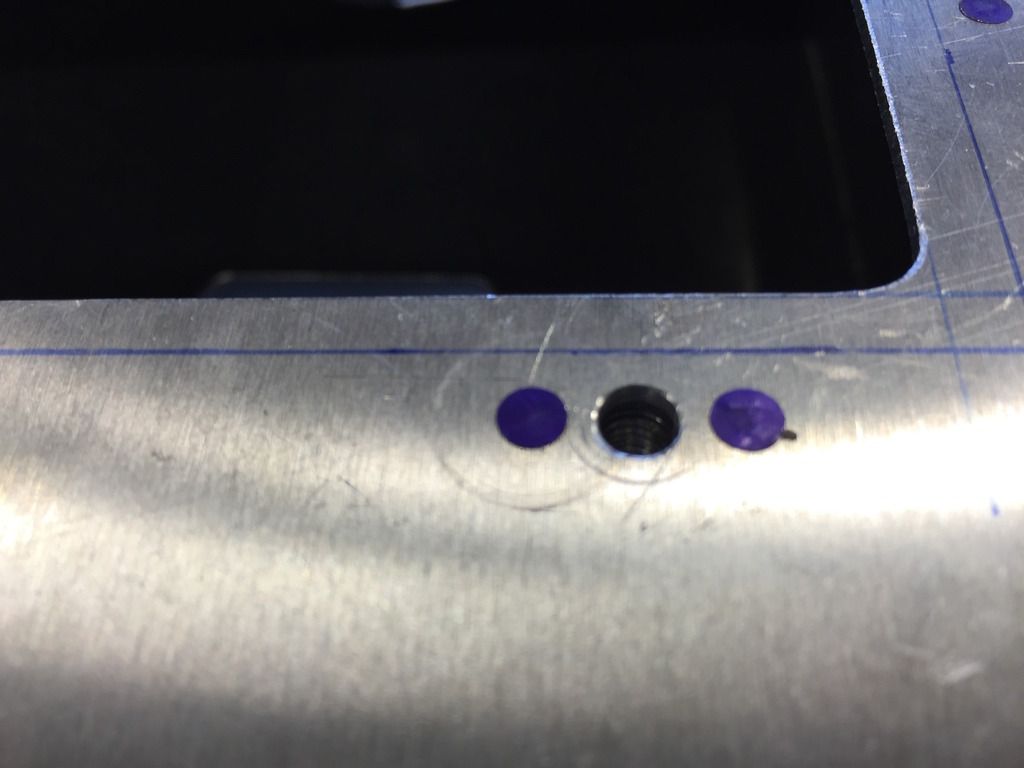
Underside of the access hole showing the anchor nuts.
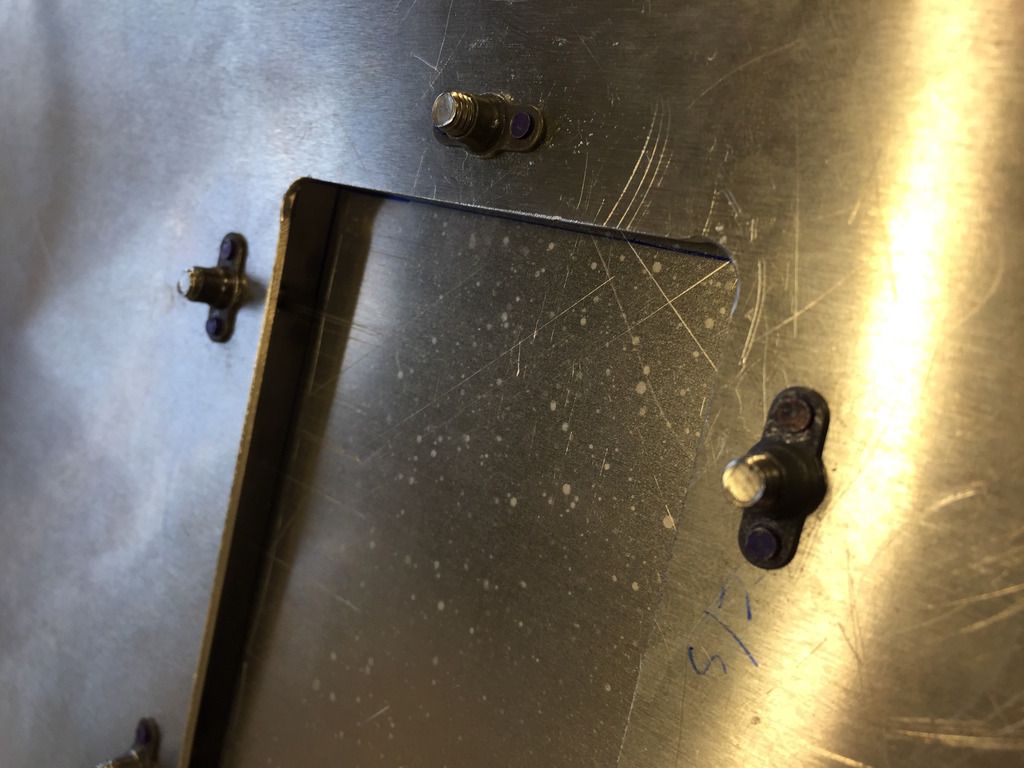
Top of the access hole showing how the anchor nuts are held in place.
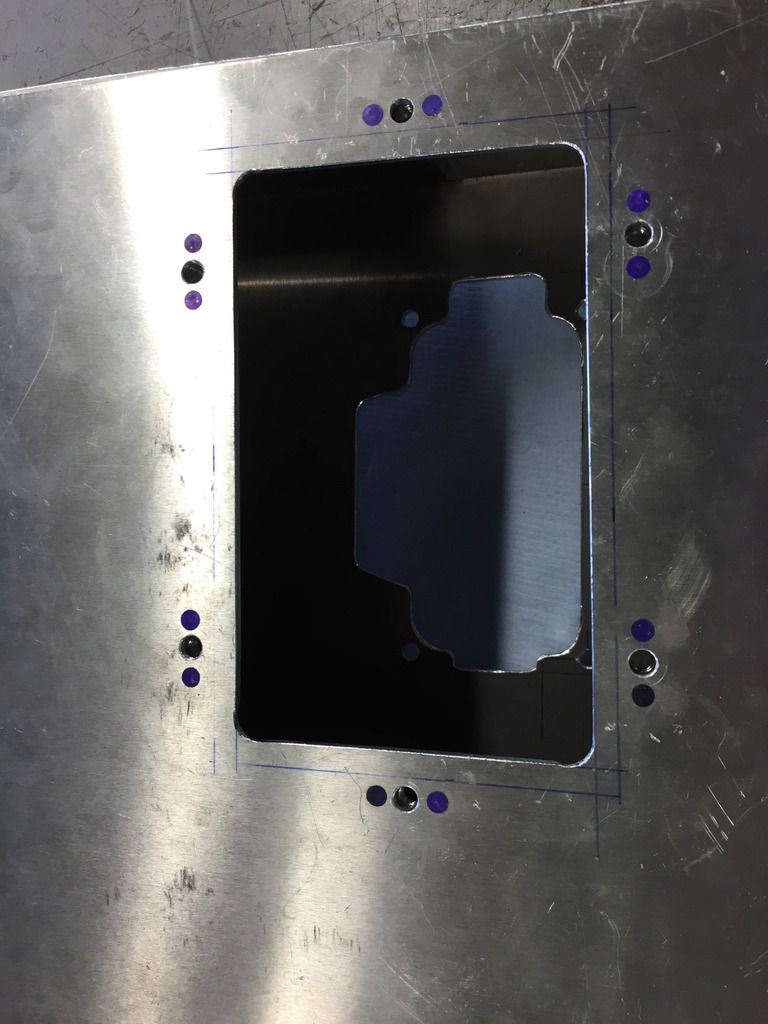
Close-up of the attachments. These are aerospace grade anchor nuts that are virtugally flush and only protrude by a fraction of a mm.
My next dilemma was how to make the airbox look nice. I bought a metal polishing kit but I soon realised that my efforts were pretty woeful despite me polishing a small section for ages, plus it would be very frustrating every time it got a fresh scratch. So I decided to have it powder coated which would be far neater and durable.
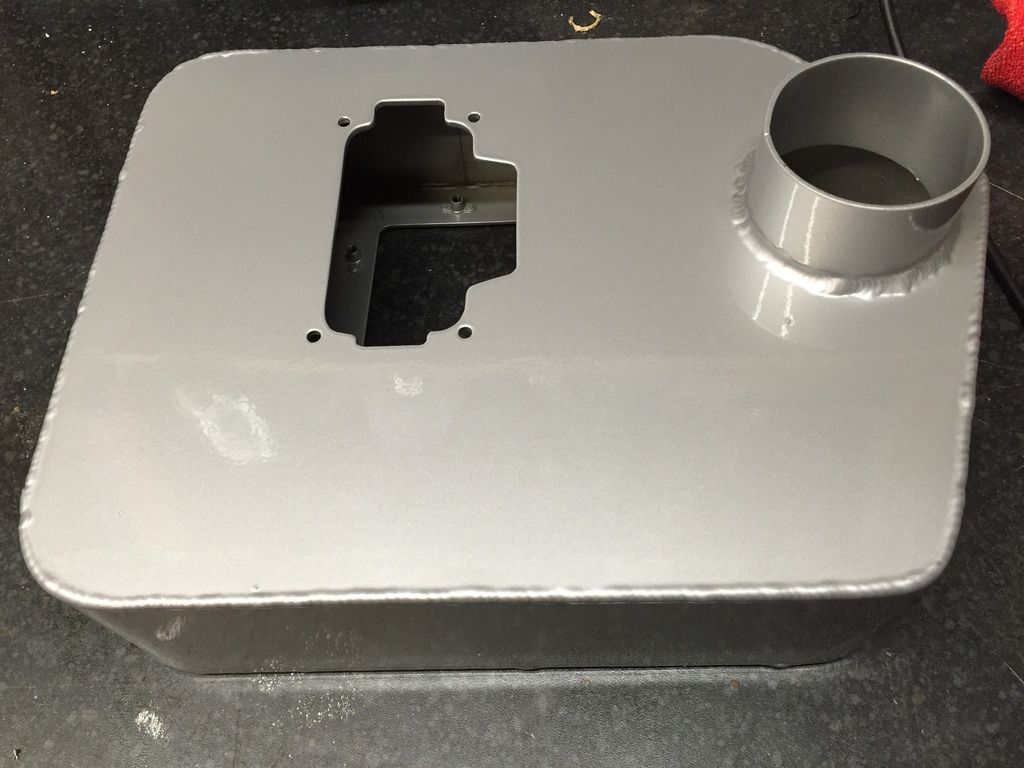
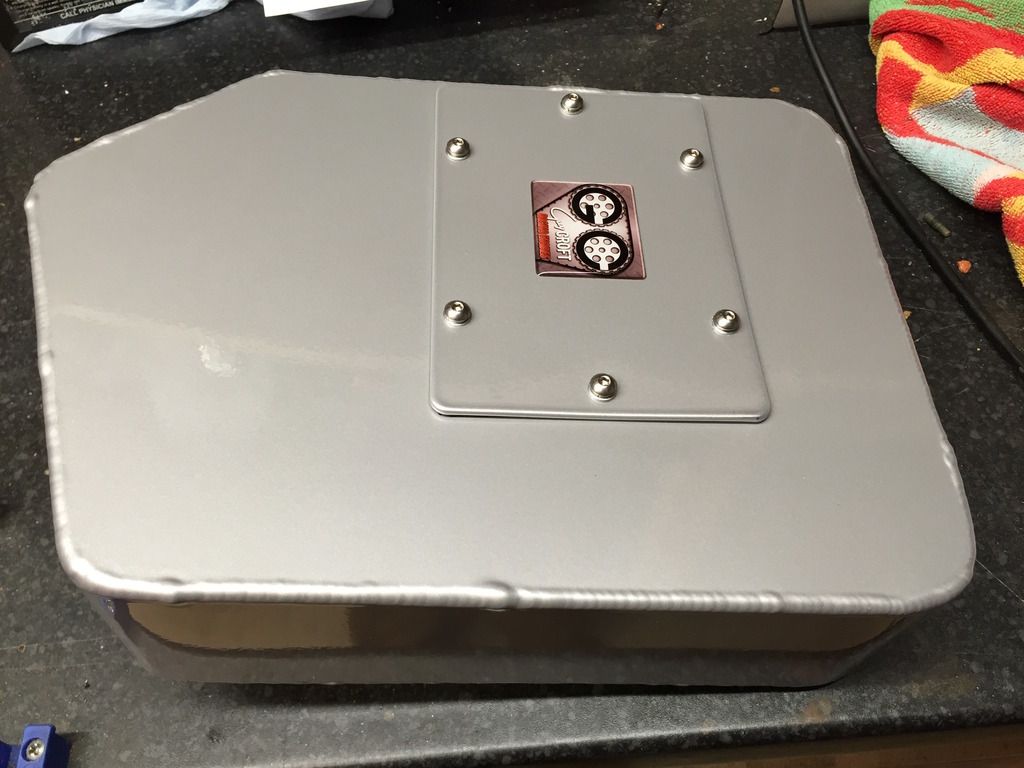
Just back from being powder coated in an aluminum colour, it is very similar to the look of an allow wheel.
The anchor nut fixings are just visible.
Underside.
Inside.
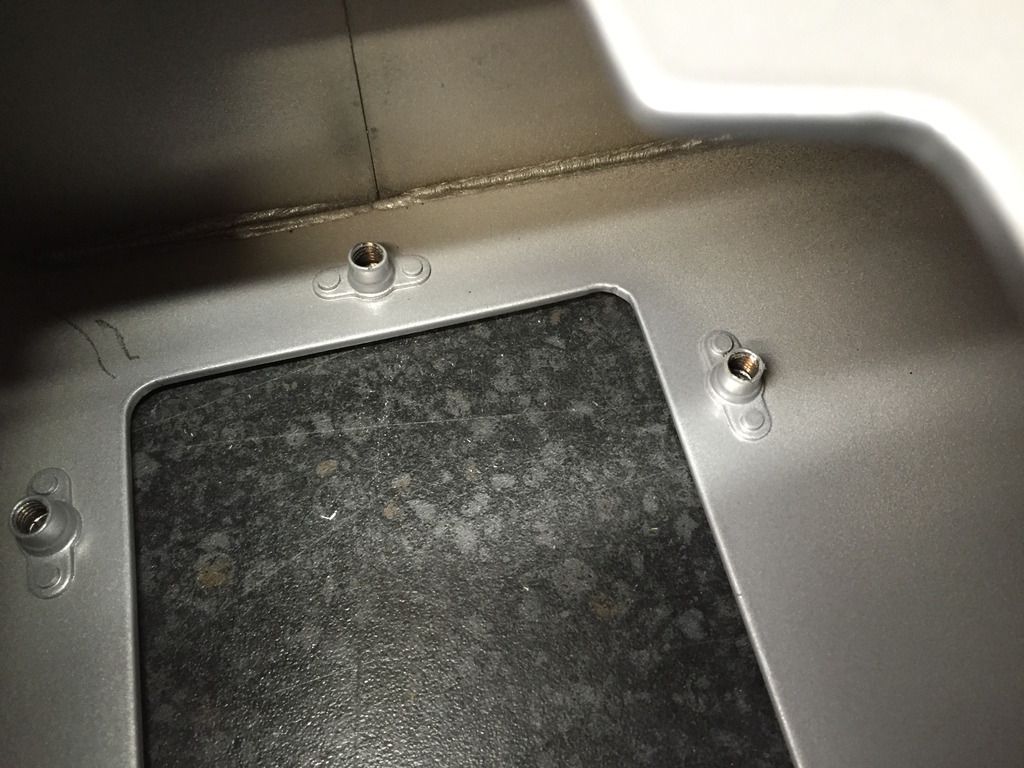
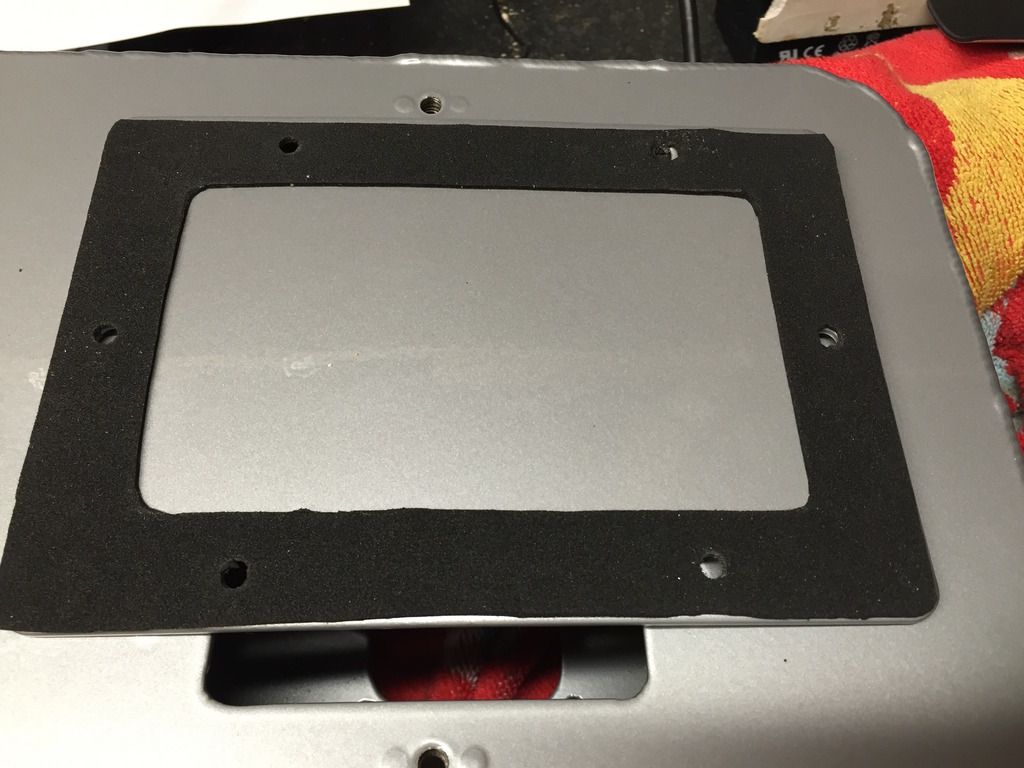
The underside of the lid showing the thin foam seal (not cut as neatly as I was hoping).
Lid fitted. I placed the GC badge on the lid not only for aesthetic reasons but it also indicates the right way that the lid fits!
To fit the airbox was a slight fiddle so I placed rags in the carb' intake to prevent any of the nuts or washers falling in whilst fitting them.
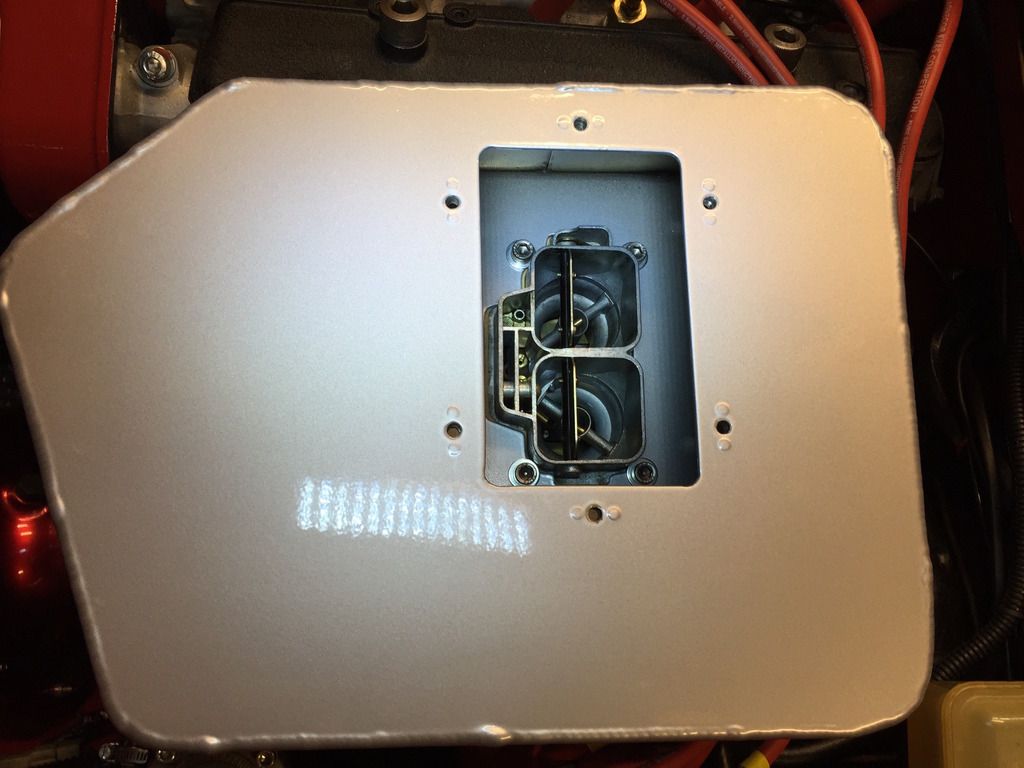
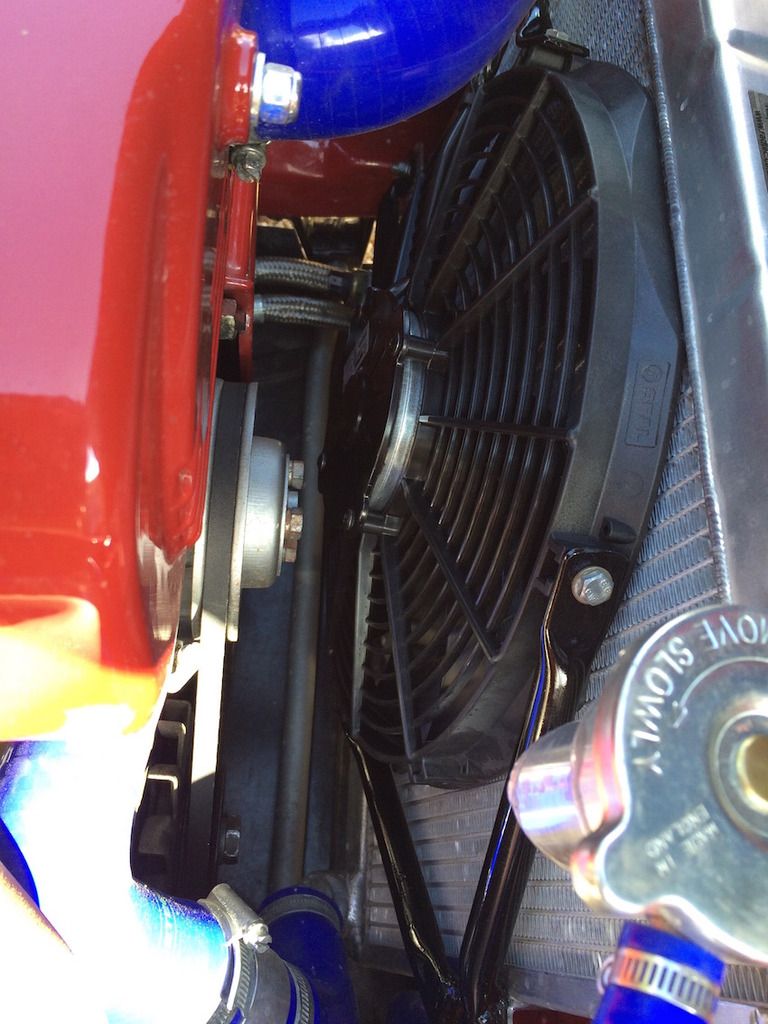
Thankfully the hose to the K&N Apollo intake fitted ok.
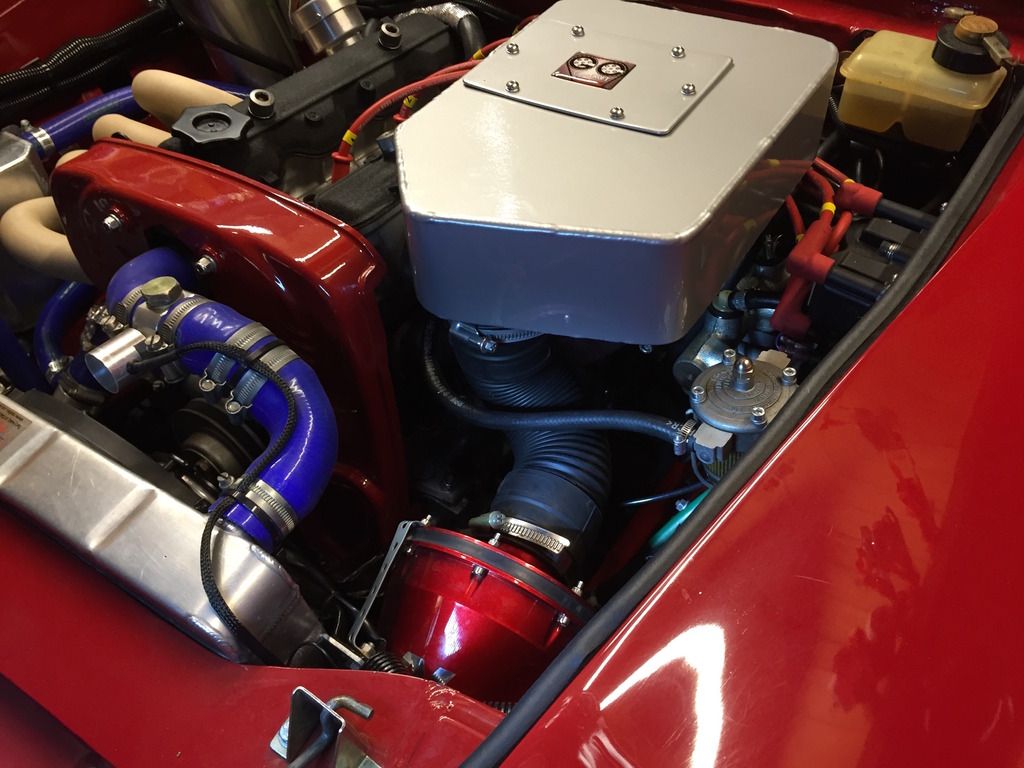
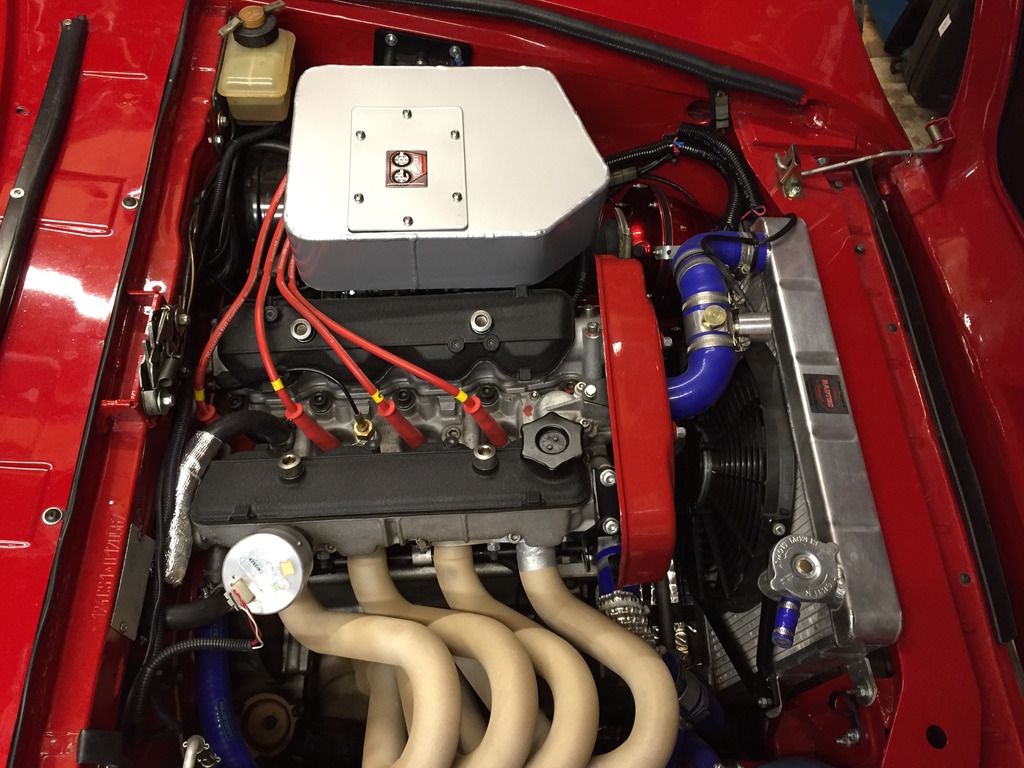
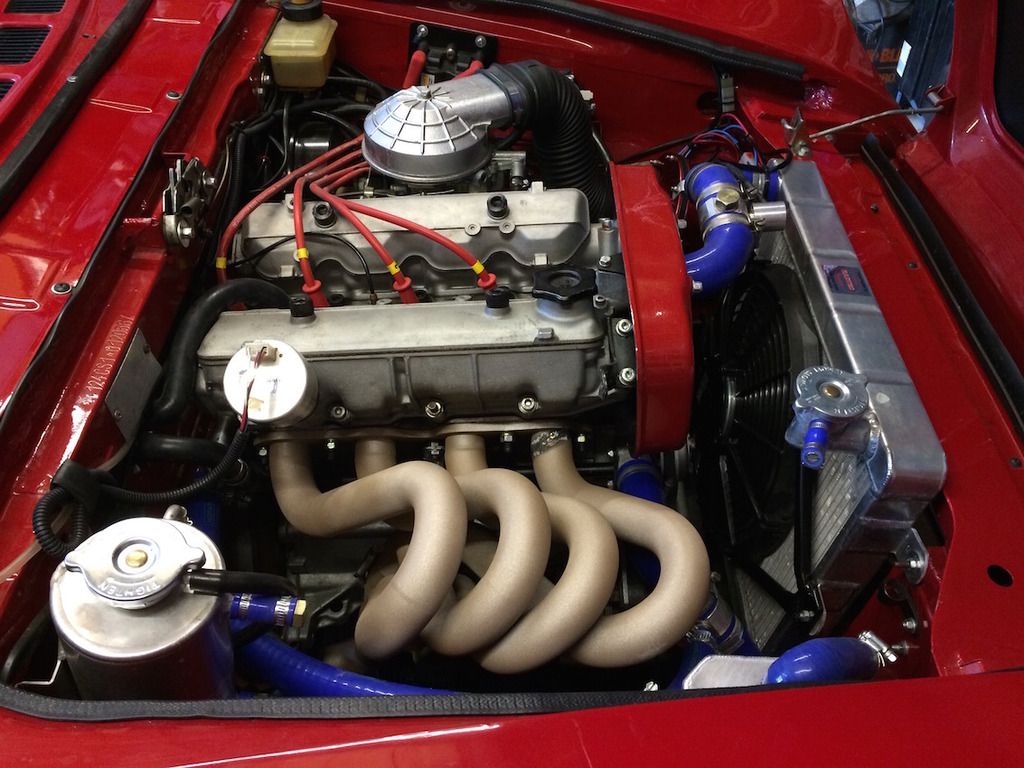
And yes it does clear the bonnet - PHEW!
I gave the engine a quick run in the garage and there was no annoying resonance and it sounded great.